The Perfect Party Meal - Chicken Gyros
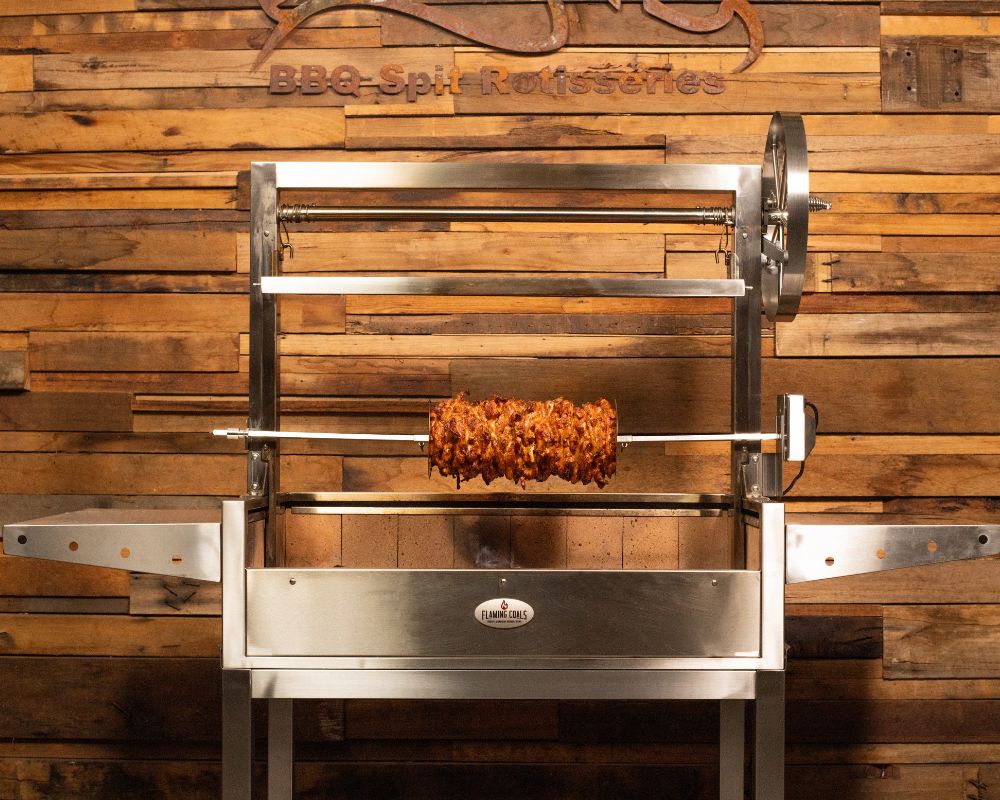
Catering for large groups of people at parties or big events can be a difficult sea to navigate. Being buffeted by constant waves of people for hours on end can leave even the most experienced sailors (or cooks) feeling as thin as this metaphor. Fortunately, there’s an answer. Gyros.
Perfect for large gatherings that constantly graze throughout the day, you’ll find this recipe quickly becomes one of your favourites thanks to its: simplicity, the perfectly charred edges and incredible taste.
What you’ll need:
Ingredients:
- Chicken Thighs (250-300g per person)
- Seasoning (we use the Flaming Coals Greek Gyros Rub)
- 1 Cup/ 250ml of Freshly squeezed lemon juice
- 1 Cup/ 250ml of Olive oil
Recommended Tools:
- Rotisserie Spit
- Gyros Discs
- Long-handled Rake
- Gyros Shovel
- Electric Carving Knife
- Basting Mop/Rosemary Sprig
How to:
- First, we’re going to get our chicken thighs and slice them into strips around 1 cm thick and no larger than the diameter of our Gyros Discs. Whilst you can technically use chicken breasts, we recommend using thighs as they’re going to provide a much juicier finished product and are more forgiving during the cooking process.
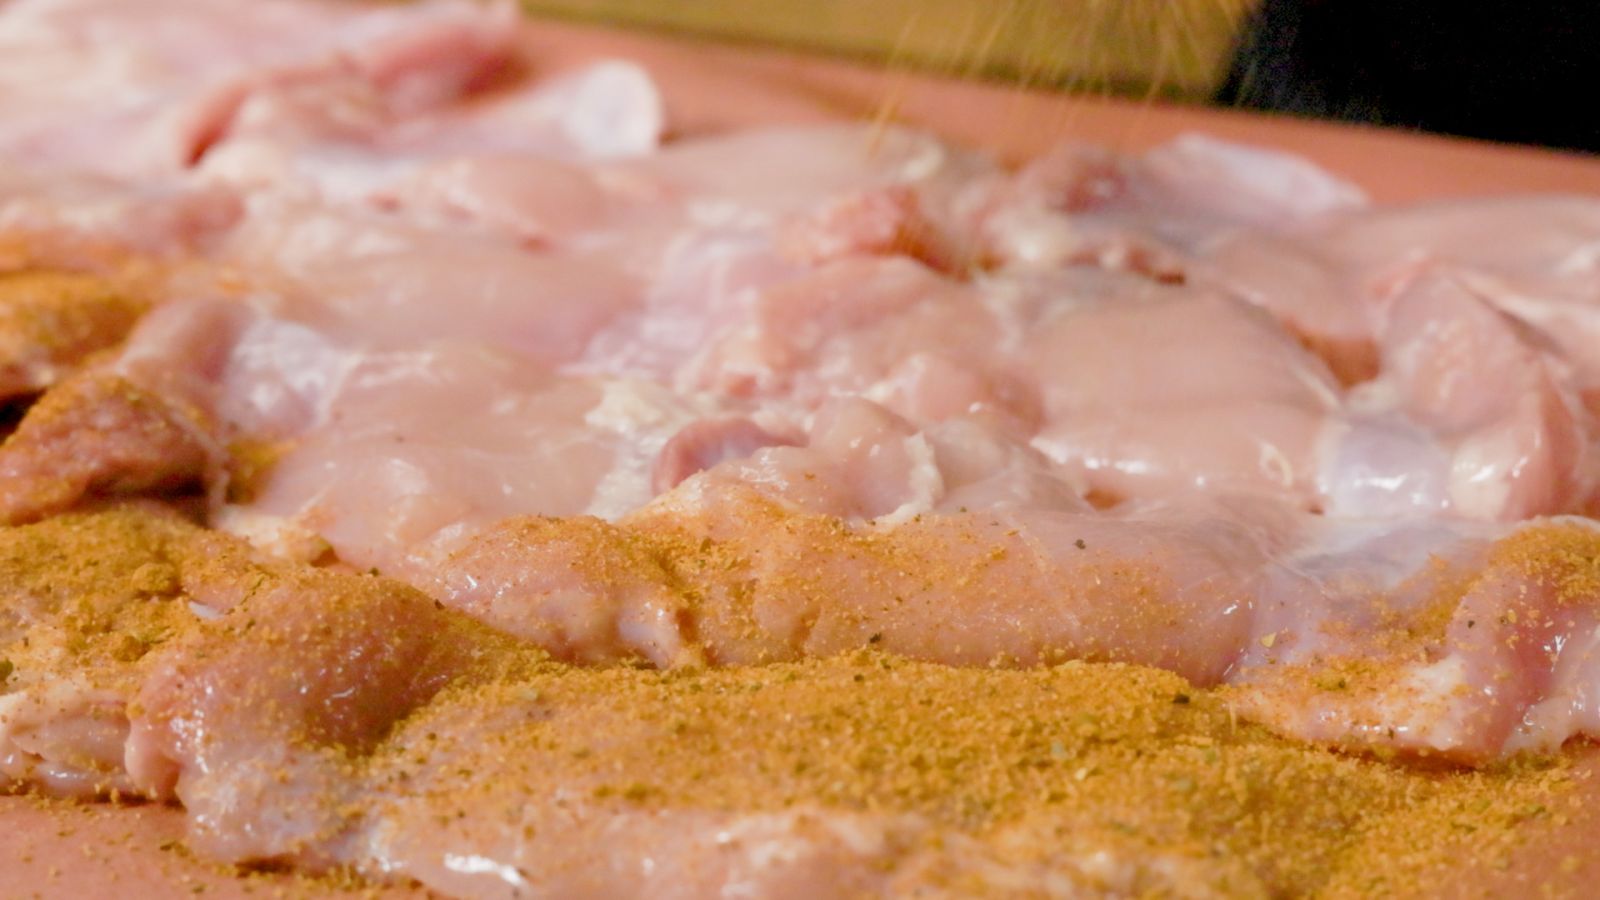
- Next, we’re going to season. If you have the bench space, laying out your strips on some butcher's paper will save some time, as you can just sprinkle the seasoning from above and move across your chicken. Otherwise, you can just have a few on a cutting board and season each as you go along. Be sure to cover both sides of your chicken to get even more flavour in each cut! We use the Flaming Coals Greek Gyros Rub every time we make Gyros here at BBQ Spit Rotisseries. It tastes great and is intentionally very thin, so it can absorb into the protein quickly. While you allow the seasoning just a little bit of time to absorb, it’s a great time to get your fire going.
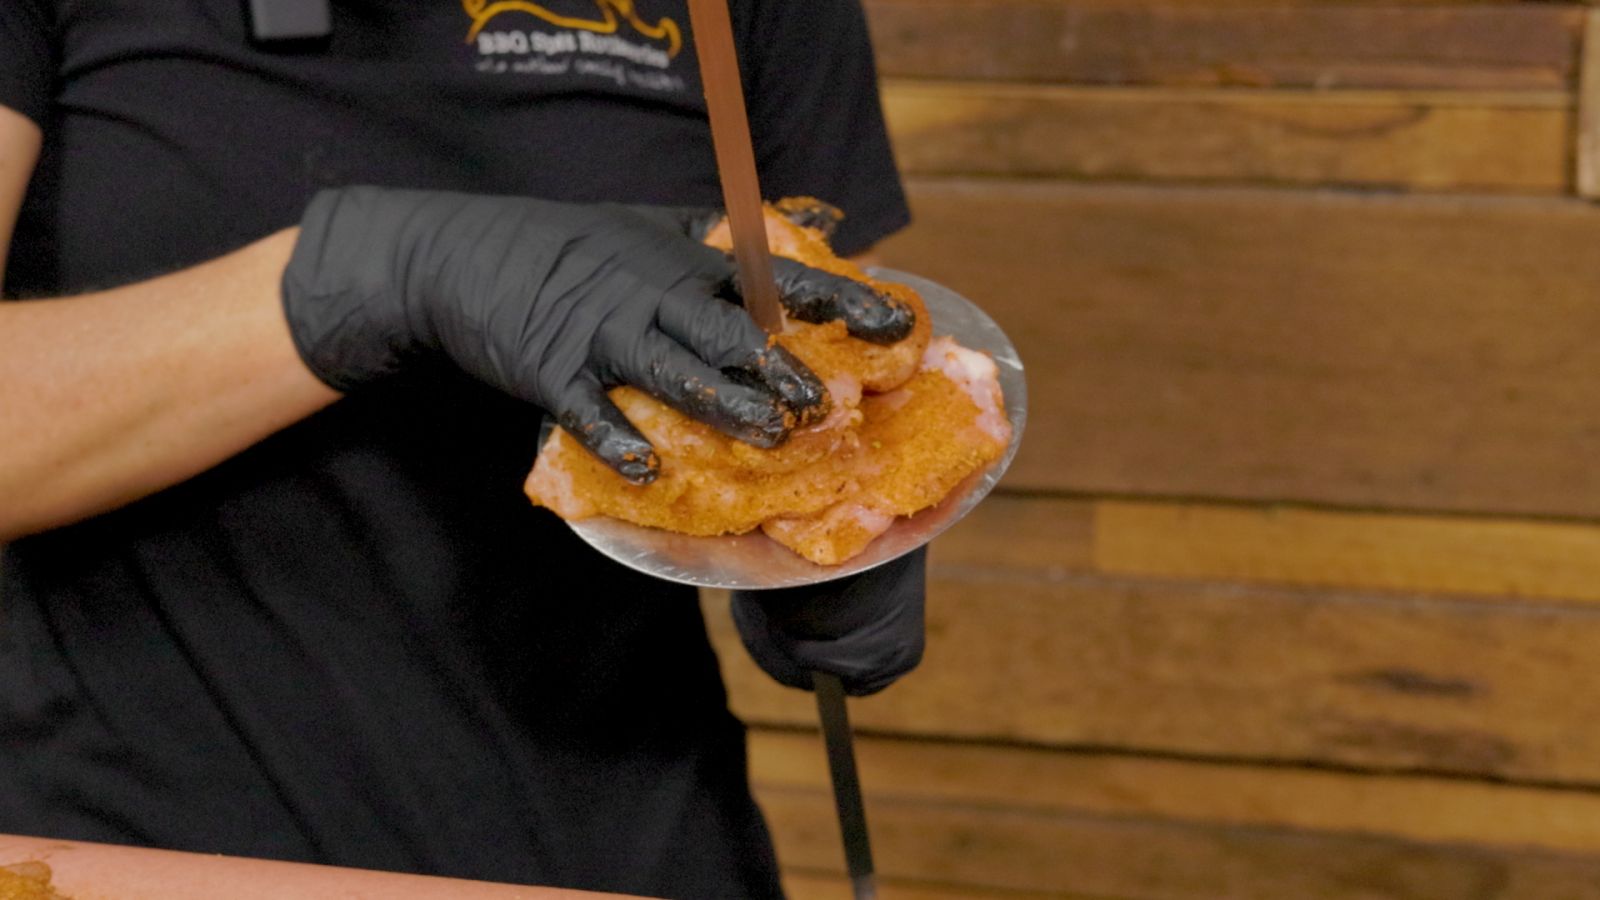
- The third step is to skewer the chicken. We’re using Gyros discs to make things easier. Tighten one disc down the bottom of your skewer to act as the platform to build your beautiful chicken tower upon. Flip the skewer upright and carefully pierce the chicken thigh, pushing it all the way down onto the plate. Continue this process until all of your chicken is loaded onto the skewer. Another benefit of cooking Gyros is that during this process, it’s a lot easier to pile the chicken in an alternating pattern to make sure it’s nice and balanced, keeping unnecessary strain off the rotisserie motor. If you want to save some of your own time and can think far enough ahead, some butchers will do both steps 2 & 3 for you with their own marinated chicken.
- With our threaded chicken skewer on the rotisserie, it’s now time to wait a little. This is where yet another benefit of cooking Gyros comes into play. If you need your next batch of chicken sooner rather than later, you can just up the heat to cook that first outer layer. Likewise, if things are going too quickly, just lower the heat getting to the chicken to increase the cook time. On spits like the Flaming Coals Cyprus Grill, this can be done by adjusting the height the skewer sits above the coals, with BBQS like the Flaming Coals Parrillas, you can adjust the charcoal underneath to reposition the heat.
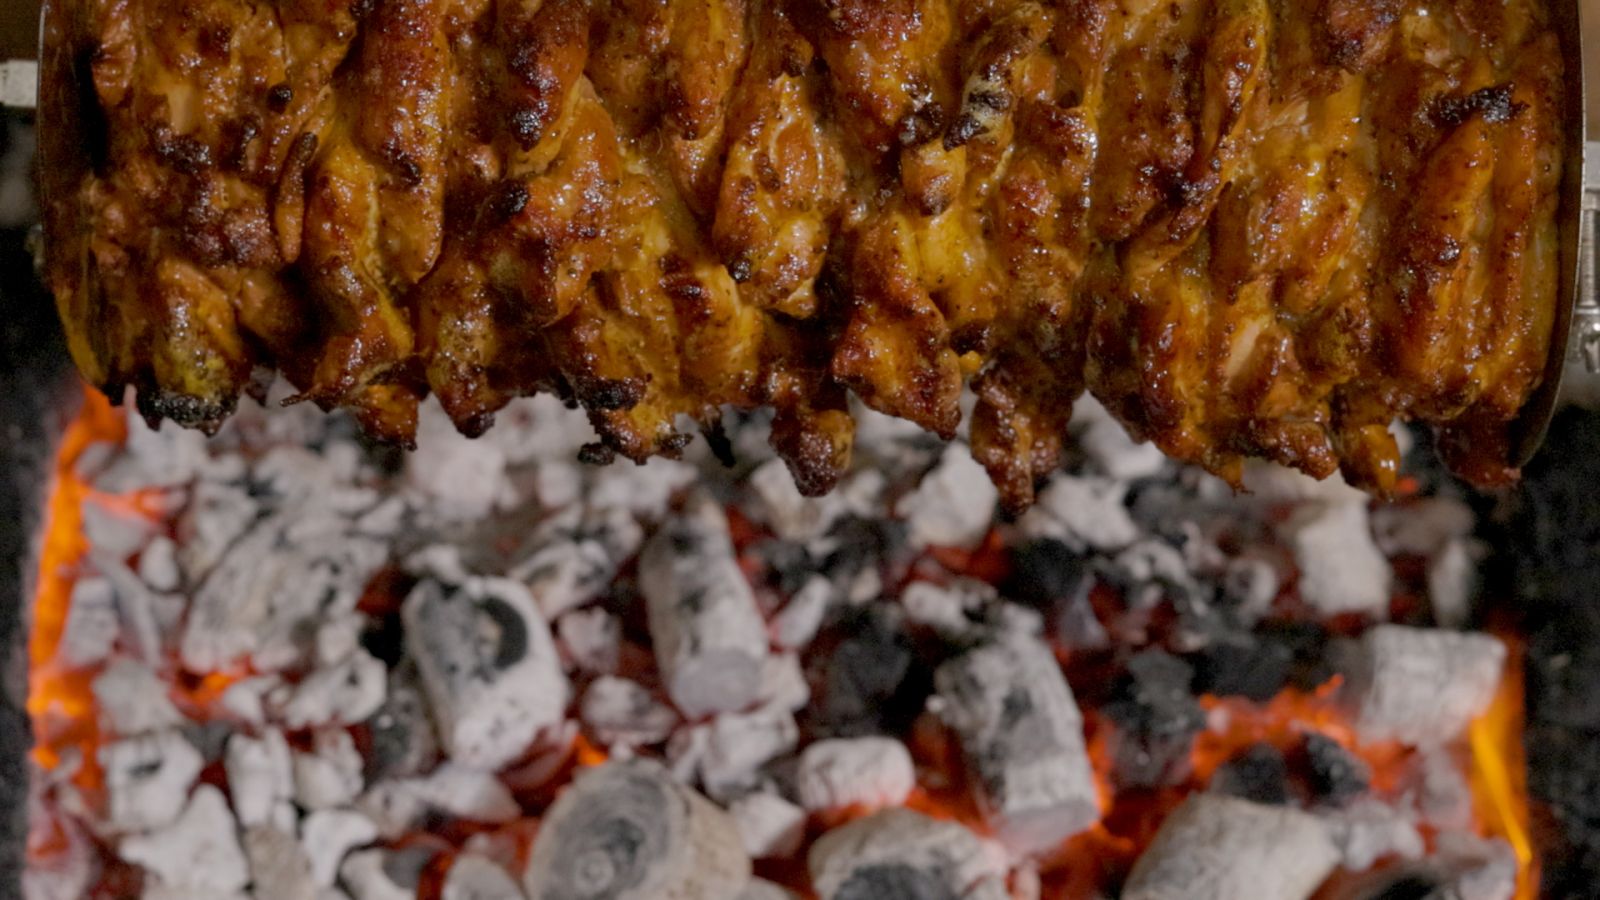
- Basting time. In a jar, mix your olive oil with your freshly squeezed lemon juice in a 50:50 ratio. This is easiest in a jar with a lid, as you’ll find they mix best when shaken, not stirred. Every half an hour, liberally mop your mixture onto the surface of the gyro. This will not only impart even more flavour, but will help keep the chicken moist and get a beautiful golden crisp on the surface. You can even use a sprig of rosemary as your mop for that little extra spark of freshness. Do note that because we’re basting with an oil-based mixture, that oil will undoubtedly fall onto the charcoal, which can cause flare-ups and fat fires. Be present and attentive, and have a long-handled rake nearby to reposition any charcoal out of the way to avoid fires and keep your Gyro (and everybody!) safe.
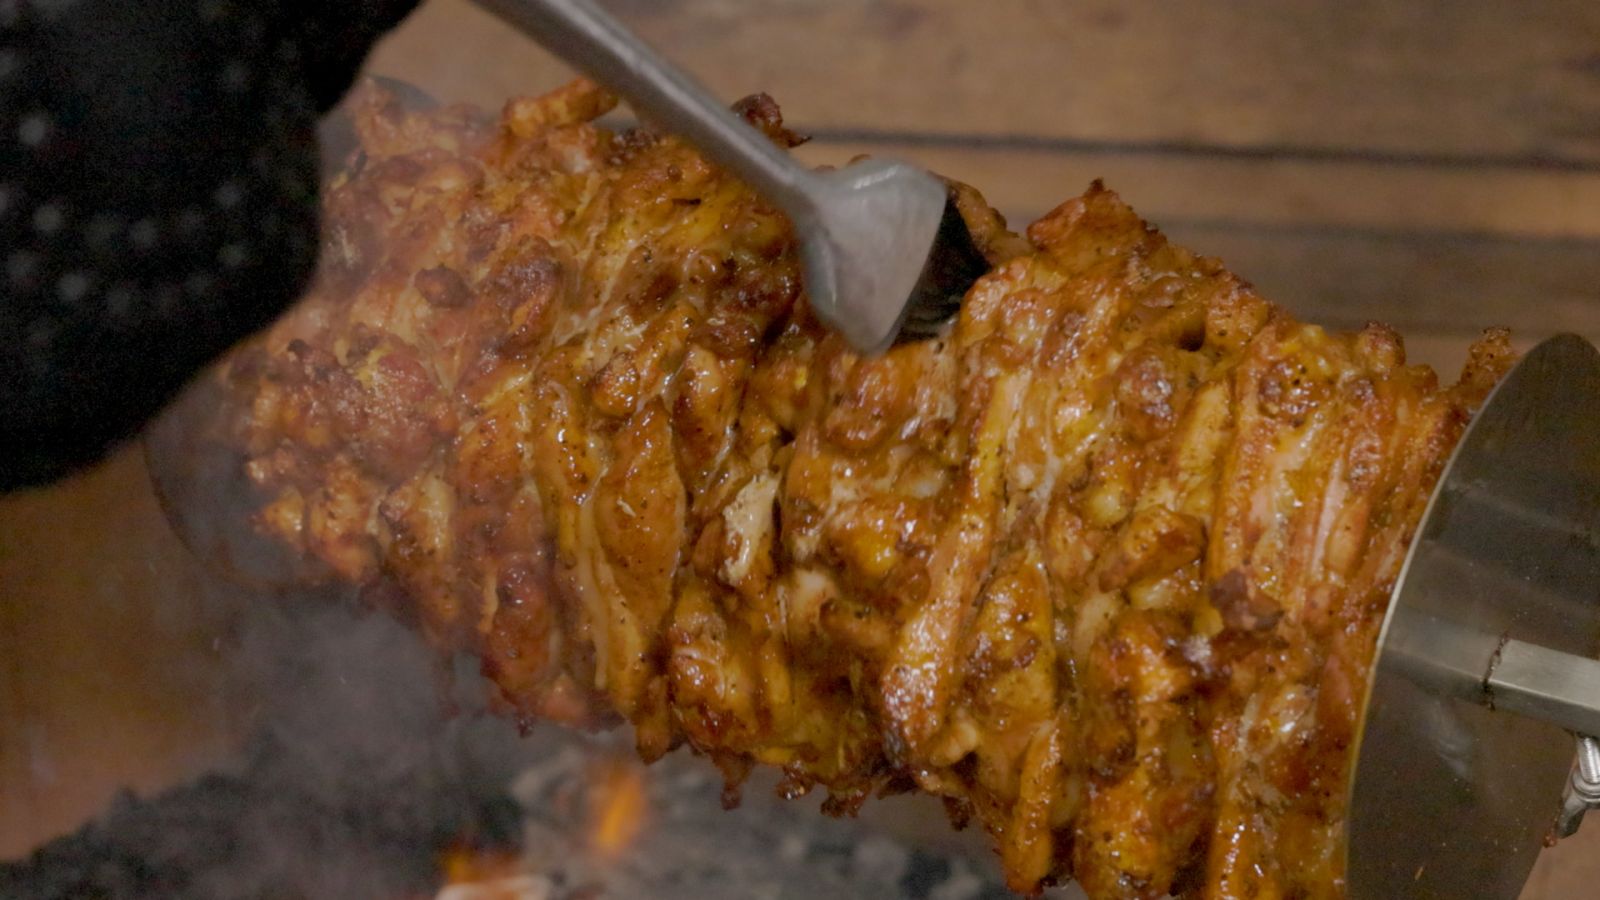
- As I mentioned earlier, cook times will be vastly different depending on your scenario. What doesn’t change is that you want the outer layer of the chicken to be fully cooked before slicing. The easiest way to do this is with an Instant-read thermometer. Simply poke the probe into the chicken in several spots and make sure they exceed the temperature of 80°C (175°F), which is perfect for the more forgiving cut of a thigh. We hit this temperature after an hour and a half.
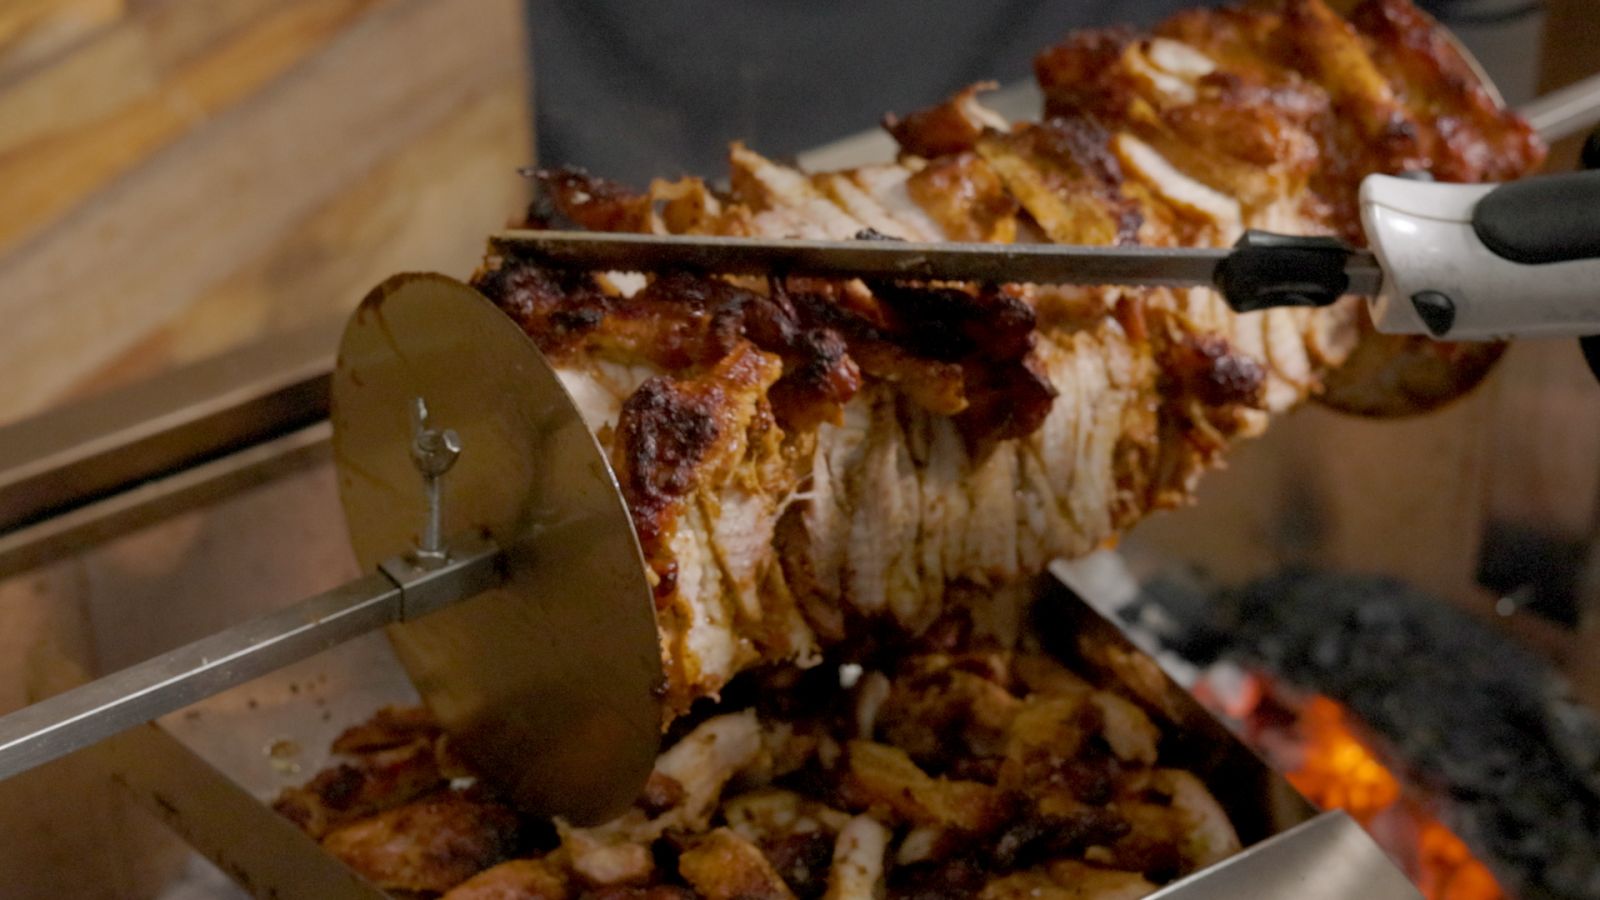
- It’s finally time to carve. Using an electric carving knife in one hand, shave the outer layer (about an inch or so) into a tray. We like to use the Gyros Carving Shovel because its long timber handle gives you some distance from the heat, and the stainless steel tray can act as a frying pan if you cut a little too deep. Simply hold the shovel over the coals, allowing the shovel to heat up and continue cooking the chicken until done.
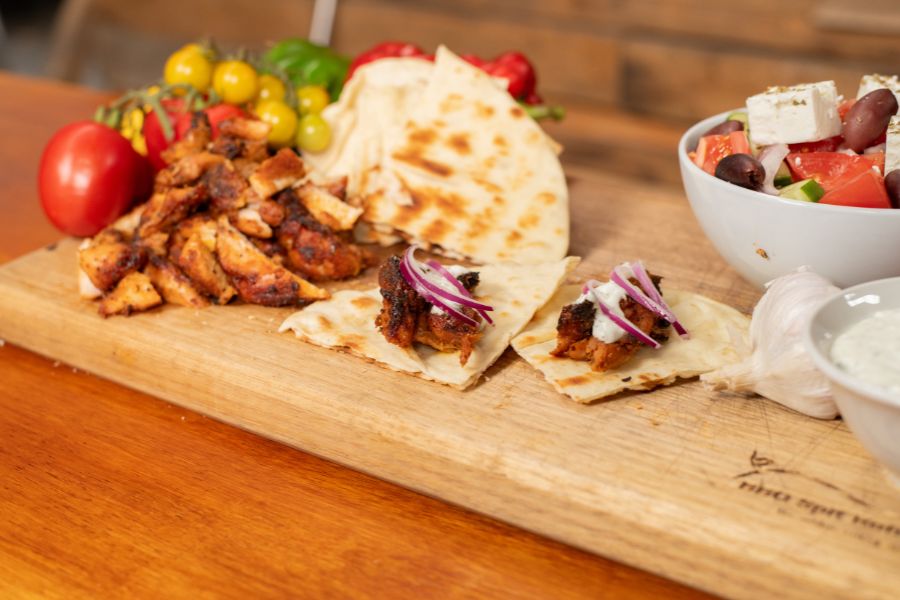
- Eat and Repeat. Once that first cut is done, re-baste and re-season the fresh ends and wait till it’s ready to slice once more. With the shaved Gyros, squeeze some fresh lemon juice and mix it all together, ready to go in wraps or alongside some salad, it’s even perfect all on its own. If you’re wanting to do a larger meal at one time, you can wrap your cuttings in foil and a towel and place them in a non-iced cooler to keep them nice and hot for when you’re ready to eat.
Extra Notes
Whenever we cook Gyros, we use Gyros plates instead of prongs. Once again, it’s a matter of making things easier. The benefits of plates are twofold; Firstly, it’s easier when skewering the chicken onto the pole to push it directly onto the surface of the flat plate, compressing with each layer and once again when the second disc goes on, allowing it to hold together. Secondly, when cutting, you don’t have to avoid the spikes of the prongs and can instead cut directly up to the plate.
Thank you so much for reading this recipe for one of our absolute favourites! Be sure to stay up to date with our other recipes and tips, and tricks for all things BBQ.


