Lighting Instructions for Slow 'N Sear
How to light your Slow 'N Sear
The following tests and instructions were performed and fine-tuned by SNS Grills research department in the USA. Unless otherwise specified, all temperatures are in degrees Fahrenheit, and references to "charcoal" or "briquettes" will be to Kingsford Original Briquets. Any charcoal substitutions, such as a lump or other brands/types, will almost certainly result in different temperatures and times than what has been provided as a baseline below.
Any substitutions should be used with care until you fine-tune your own process specific to your preferred fuel and lighting equipment. For volume consistency, the term "chimney" or "charcoal chimney" refers to the standard sized Weber charcoal chimney starter that holds approximately 90 -100 briquettes. Other products/brands may contain different amounts.
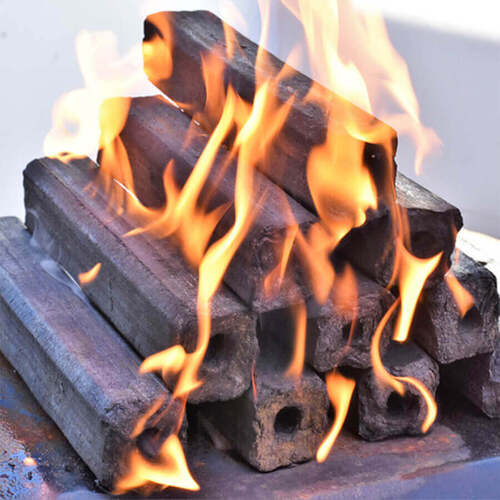
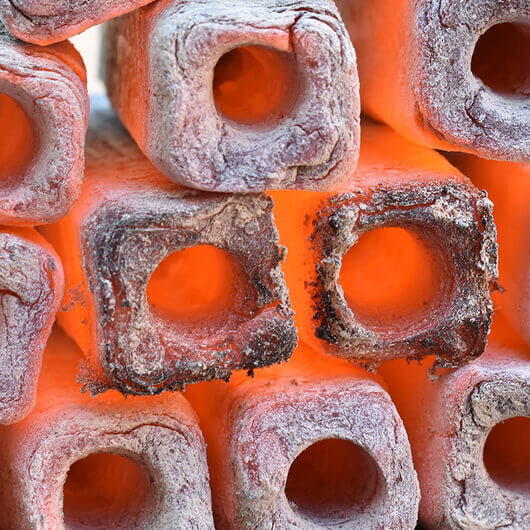
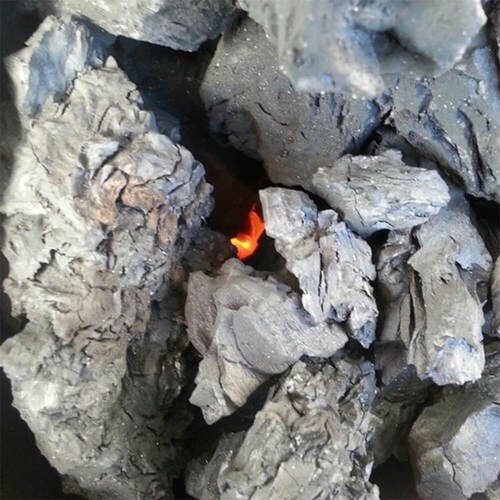
Images have been used for reference purposes and they show both briquettes and charcoal that was used during the testing process however for the lighting instruction and to achieve 8hours + of smoking/cooking time only Kingsford briquettes are used. This does not mean that other fuel sources are inferior, but it's just a fuel source readily available in the USA.
Low ‘n Slow Instructions (225° - 250° F) - How to achieve a long, 8-hour+ cook in your Kettle
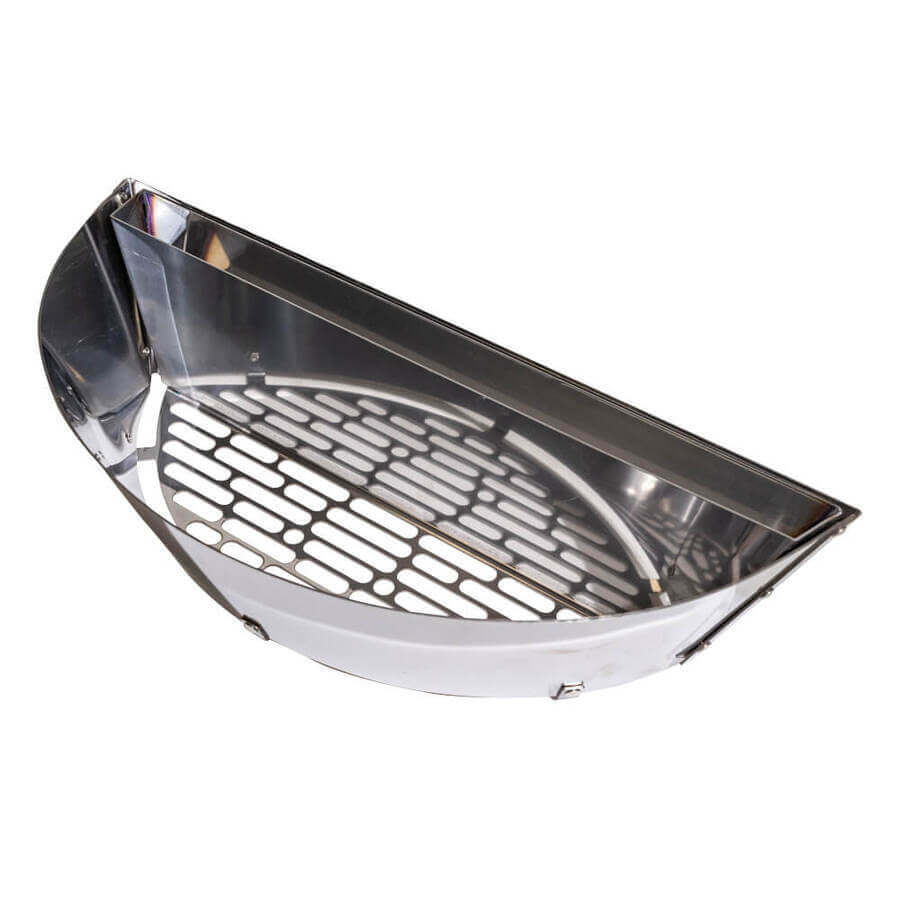
1. Attach the water reservoir (SnS Deluxe only) and light a fire starter cube (or similar fire starter) near one of the Slow ‘N Sear's corners. Place a dozen briquettes or lump charcoal on top of the starter cube, tucking the charcoal tightly into the Slow ‘N Sear's corner.
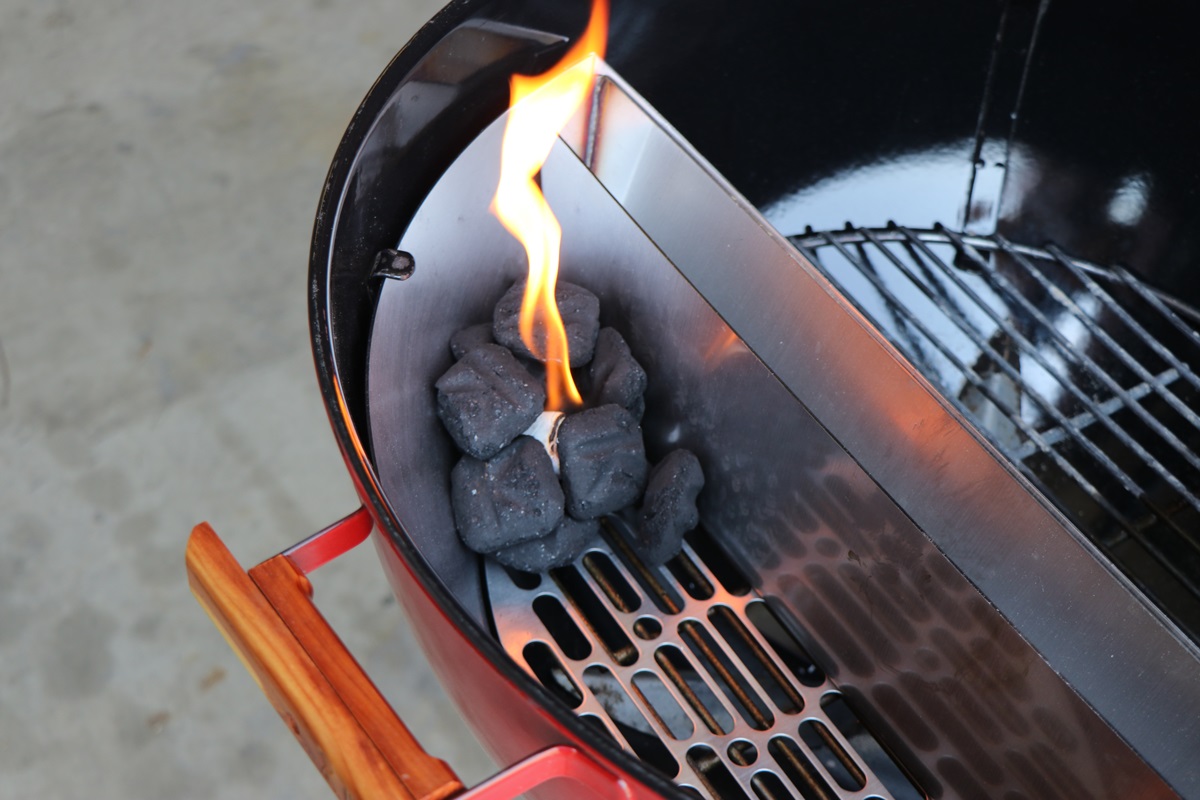
2. Wait until the smoke has subsided and the briquettes are well-lit (about 15 minutes).
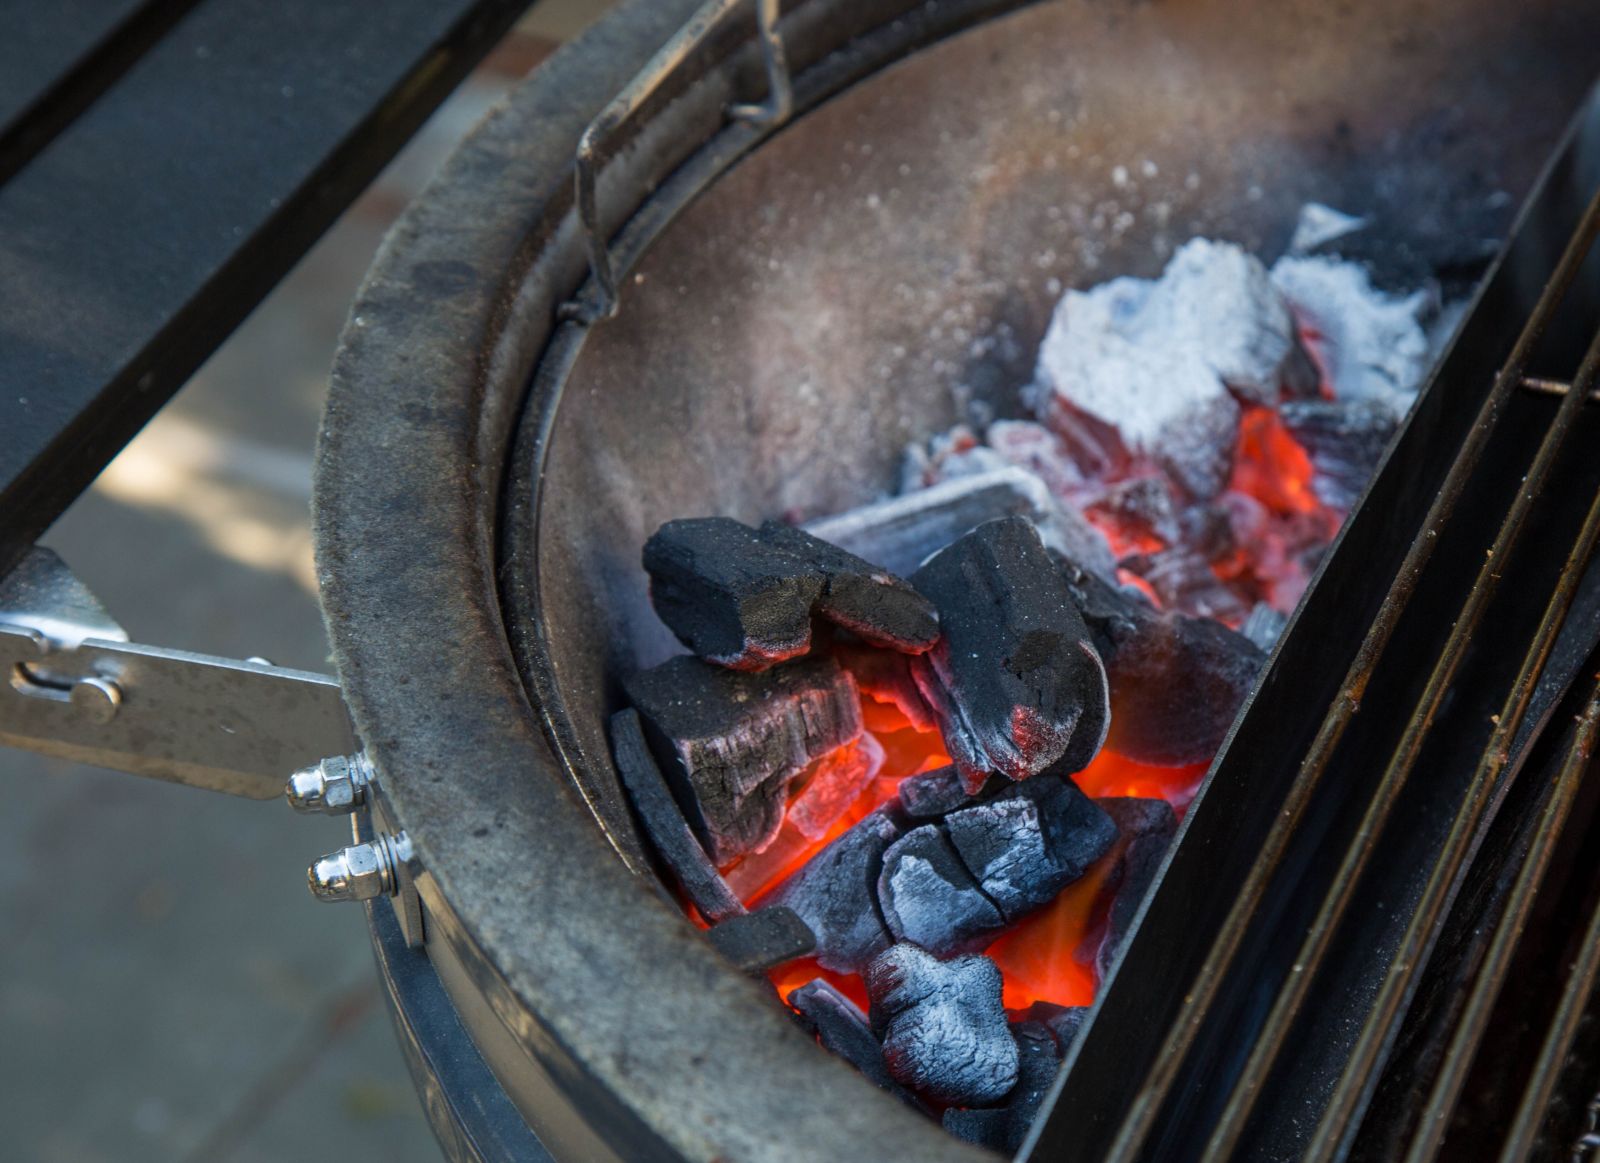
3. Fill the remaining space in the charcoal basket with a full chimney of unlit briquettes. It should be noted that the Slow n Sear XL will require approximately 20% more charcoal.
If desired, scatter a few chunks of smoking wood across the top of the charcoal. Place one chunk on the burning coals to begin producing smoke early in the cooking process.
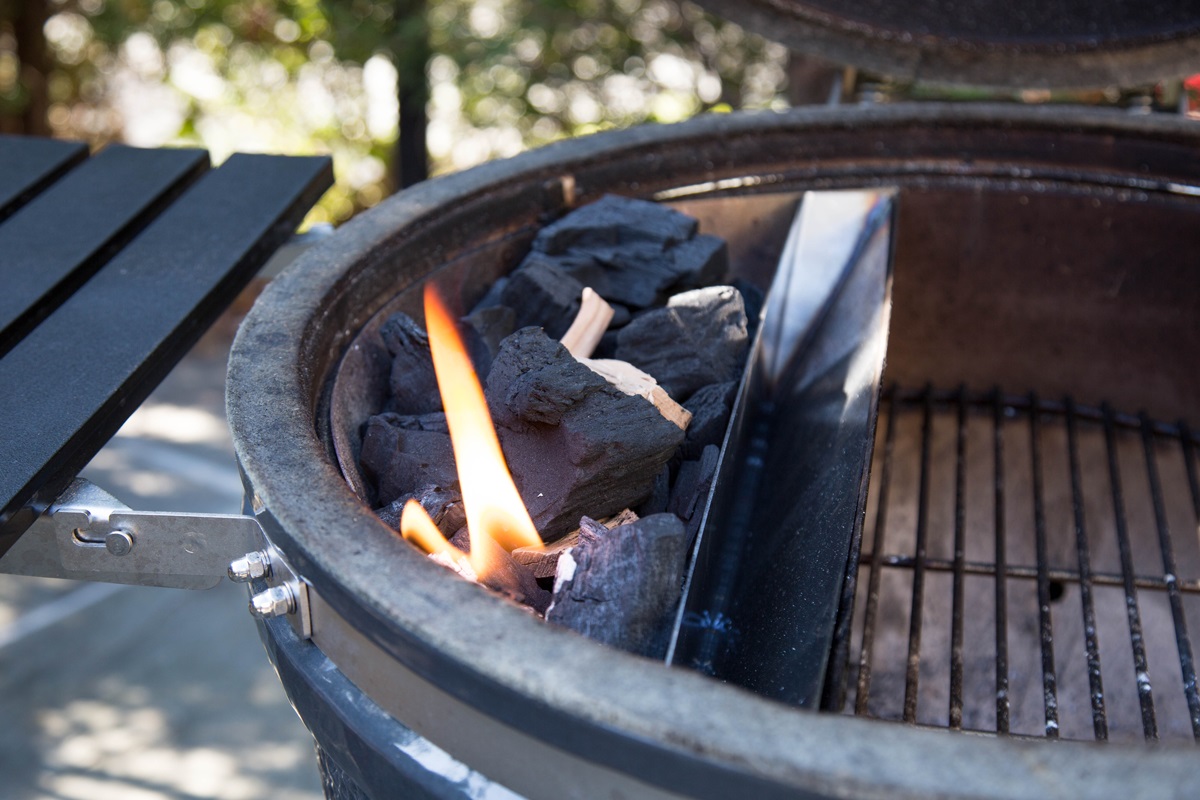
4. Fill the reservoir with 950ml of boiling water. Fill the reservoir from the opposite side of the blazing coals. Please do not overfill! Leave around a 12mm or more gap at the top.
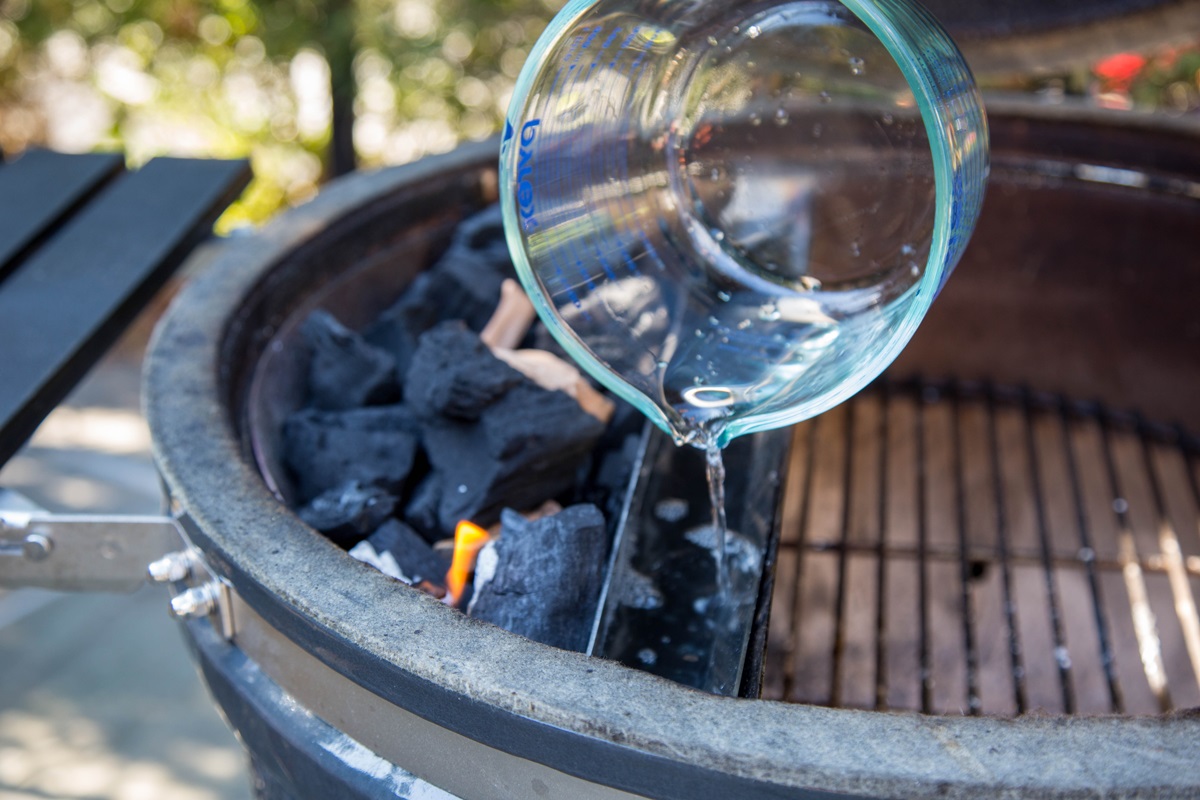
Important: Filling the reservoir with cold water leads to unnecessary stress when metal is exposed to rapid temperature changes. In the long run, repeating this process will lead to metal fatigue and unrecoverable product damage such as deformation and cracks. Water also readily absorbs heat. By using cold water you will increase the time needed to get the grill up to a stable cooking temperature due to the heat from the coals also needing to warm up the mass of water in the reservoir. Please only ever fill the reservoir with boiling water.
5. Vent placement - If the top vent of your charcoal kettle grill is not centred, secure the lid to the grill with the vent on the opposite side to the Slow ‘N Sear. This will help draw hot air/smoke through the hot coals and over the food on the indirect side.
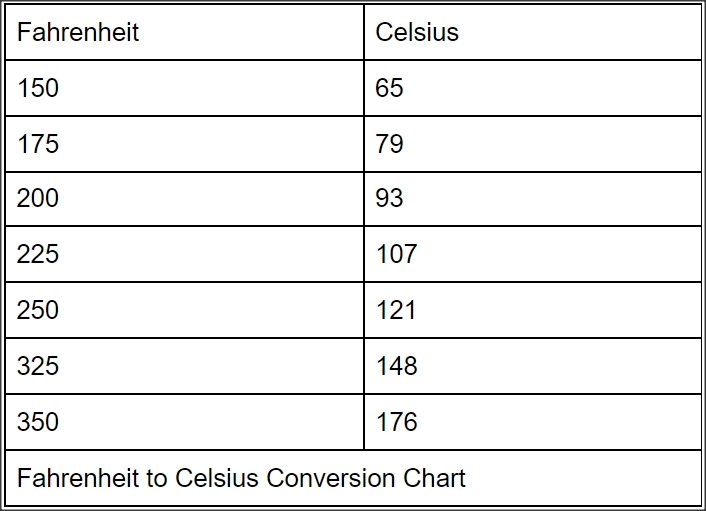
6. Fully open the top vent and open the bottom vent only around halfway. The temperature will gradually rise as the grill and water begin to heat up. When the temperature at the grate level reaches 150° F to 175° F, close the top vent to about 1/2 open and the bottom vent to a narrow 5mm crack. Continue to monitor the temperatures and as the pit temperature starts to reach between 225° and 250° F adjust vents so it settles in that range. Depending on the weather and altitude, adjust the vent settings as needed. Once you fine-tune this, repeat the process for your future cooks.
Remember, Smoking meat is an art and a passion, Don't try and rush it. All good things take time and the more patience you have the better your results will be.
Use a spray bottle filled with water to quickly extinguish some of the coals if the target temperature is significantly exceeded (by 50+ degrees) before the vents have been closed in the above step.
7. When the pit temperature is between 225° and 250°, add a protein(meat you are cooking). For best results and stress-free cooking use a dual probe thermometer, leave one probe in the meat and one in the pit to monitor the grill temps. Make certain that the pit probe is at least 5cm away from the meat. If it's too close, the cold meat will affect pit temperature readings early in the cook.
And if you are after a completely carefree cook where you just set and forget, the incorporation of a thermostatic temperature controller such as the Tempmaster Pro will automatically control the pit temperature by adding air as required.
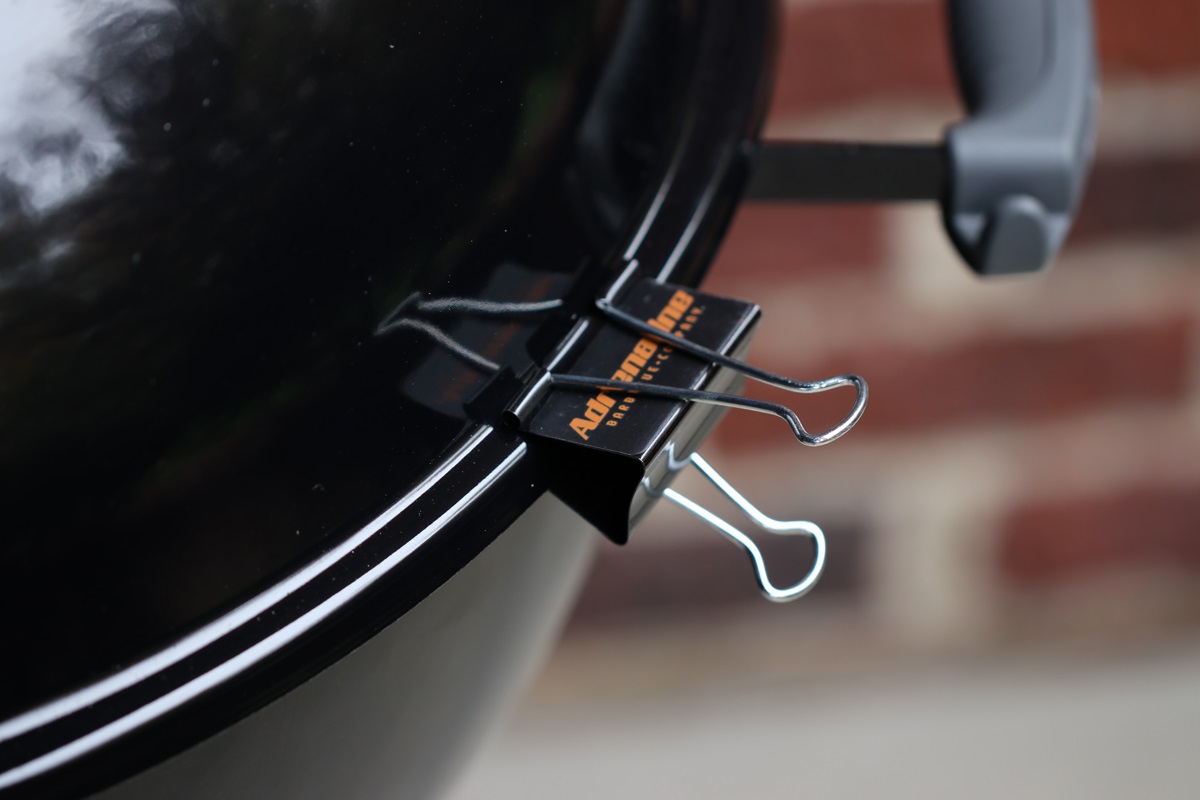
Tip: Because the Slow ‘N Sear burns fuel so efficiently, any unintentional air leaks (such as an improperly sealed lid) can prevent the kettle's indirect zone from dropping below 250° F. To seal the lid and minimise unwanted air in the kettle, simply use 2" binder clips. For a better seal, place three clips around the kettle lid.
By following the above guide you should be able to achieve low and slow long smoking cooks for up to 8+ hours in your Kettle BBQ
Other Cooking Methods
Roasting & baking
When you need to cook proteins such as chicken that require hot and fast temperatures at 325 degrees, do not fill the charcoal reservoir with unlit briquettes.
Instead, start with half a chimney of briquets (approximately 40 briquets). Light the chimney and leave it to burn for about 10 minutes. When the blue smoke begins to diminish or disappears completely and heatwaves can be seen from the top of the chimney, they are ready. This is more accurate and visible from a distance than using the “ashed over” appearance of the coals themselves.
Only these coals should be added to the Slow 'N Sear's charcoal reservoir, and they should be spread out evenly. Cooking chicken with unlit briquets is not recommended because the cooking time is short and extra coals result in a longer burn time that is not required.
Note: If you're using the SnS Deluxe, put the water reservoir in the Slow 'N Sear but don't fill it up. This allows for a smaller heat zone that is perfect for maintaining a temperature range of 325-350 degrees.
The above steps will not provide enough fuel when cooking something that needs to be cooked at 325 for 2-3 hours. To do this, place half a chimney of unlit briquettes in the Slow 'N Sear and then follow the steps above to light a half chimney of charcoal and, once lit, pour them on top of the unlit briquettes in the Slow 'N Sear to maintain a 325-350 degree temperature for several hours.
This method will also be useful in colder weather when the use of charcoal will naturally increase to keep temperatures stable. There will almost certainly be a lot of coals leftover after the cook is finished; these can be extinguished by closing all the vents. Coals that have been partially consumed can be easily re-lit and reused on the next cook!
High Heat Searing
To cook at temperatures above 500° F with the SnS Original or SnS XL, fully light a chimney full of charcoal before adding it to the Slow ‘N Sear. If the vents are fully opened with the lid off, the Slow 'N Sear will allow the coals to become extremely hot. It is very simple to reach 700 degrees.
To cook at temperatures higher than 500° F with the SnS Deluxe:
- For a standard-size sear zone, Install the water reservoir (do not add water) and use one chimney of fully lit charcoal.
- If you want to have a larger sear zone, remove the water reservoir, cover the bottom of the Slow ‘N Sear with a single layer of unlit charcoal then pour over the top of that layer a fully lit chimney of charcoal.
Kettle Temperature Maintenance Tips
To combust and generate heat, charcoal requires oxygen from the air. Grill vents control how much air is allowed to reach the coals. This process of adjusting the airflow to adjust the temperature takes time, both in terms of raising and lowering the temperature. Make very small vent adjustments and wait 5-10 minutes for the changes to take effect. This isn't a gas burner where you can just turn the knob and expect instant results. To reduce the temperature, do not simply remove the lid; this “burping” technique will only work temporarily and will actually lead to an increase in the temperature due to the increased supply of fresh oxygen in the grill.
Resist the urge to make drastic changes if the temperature rises or falls too much. Don't panic! Remember that when cooking “low & slow” at 225°, the grill does not have to precisely maintain 225° for great results. Maintain a temperature range of 200-250 degrees, with 225 degrees as the target.
Similarly, when cooking “hot & fast” at 325°, the temperature does not have to stay at that exact temperature. A good temperature range is 325-350°; temperatures above 350° can cause sugar in various rubs to burn.
A small amount of temperature variation is normal and will not harm anything. The more you use your kettle and Slow ‘N Sear and follow our lighting guidelines, the more familiar you'll become with your grill and vents, as well as how they react to adjustments. Soon, you'll know exactly what needs to be done, in all situations and your temps will be remarkably consistent.
Vent Information
If your kettle grill has a top lid vent off to one side, secure the lid to the grill with the lid vent on the opposite side of the Slow ‘N Sear. This will assist in drawing hot air through the slow n sear, over the grate and the food.
Open the top vent completely and the bottom vent approximately halfway. The temperature will gradually rise as the grill, its components, and the water in the reservoir heat up. Close the top vent to about 1/2 open and the bottom vent to about 1/4 open* when the temperature at the grate level reaches 150 to 175°F. Continue to monitor the temperature as it approaches 225°F and close the top vent as needed to maintain that temperature.
Weber Kettle Vent Information
This reference shows the 2015 model "Weber Original Kettle Premium” handle positions relative to the vent settings.
Older model Weber grills, such as the "One Touch Gold," may differ from what is shown here.
If you're using an older model grill, we strongly advise you to inspect the grill handle and vent positions and make notes for future reference. Weber grills without a clean-out handle, as well as other brands, can be adjusted by sight.
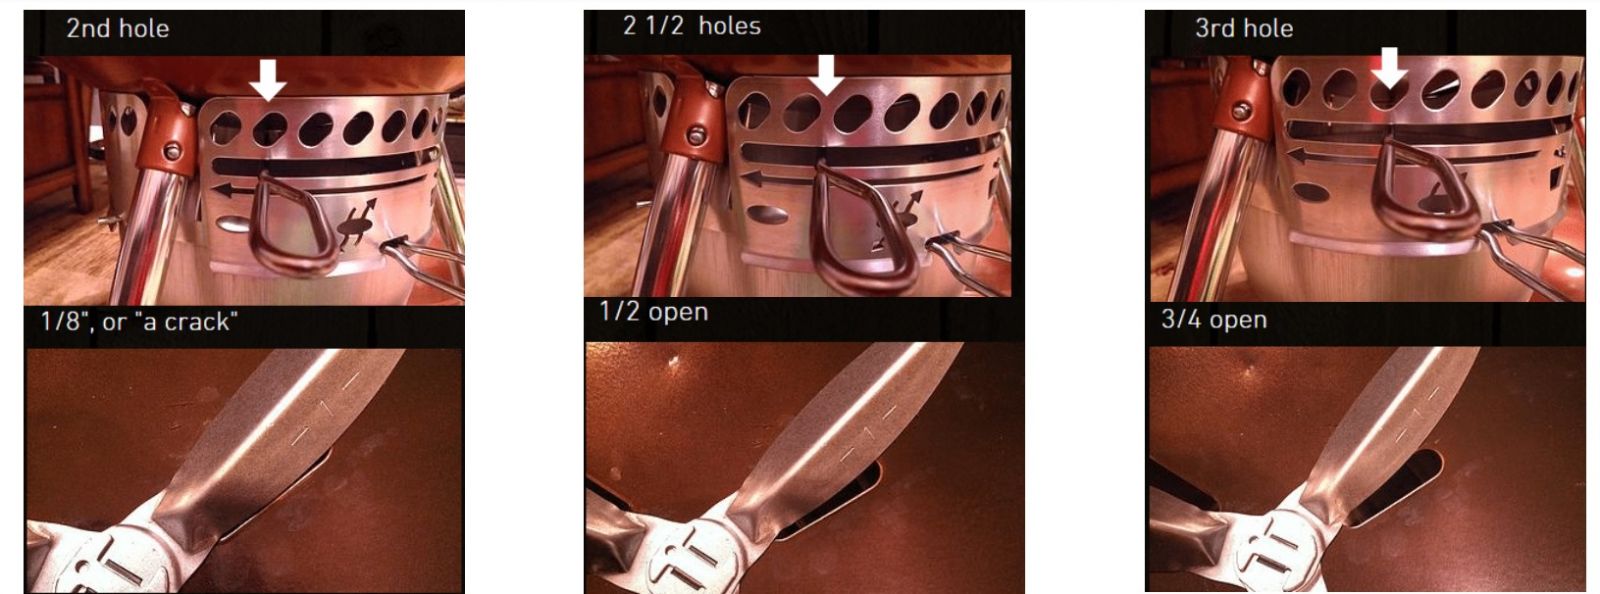
Note: the most common adjustments will occur between the 2nd hole and the 3rd.
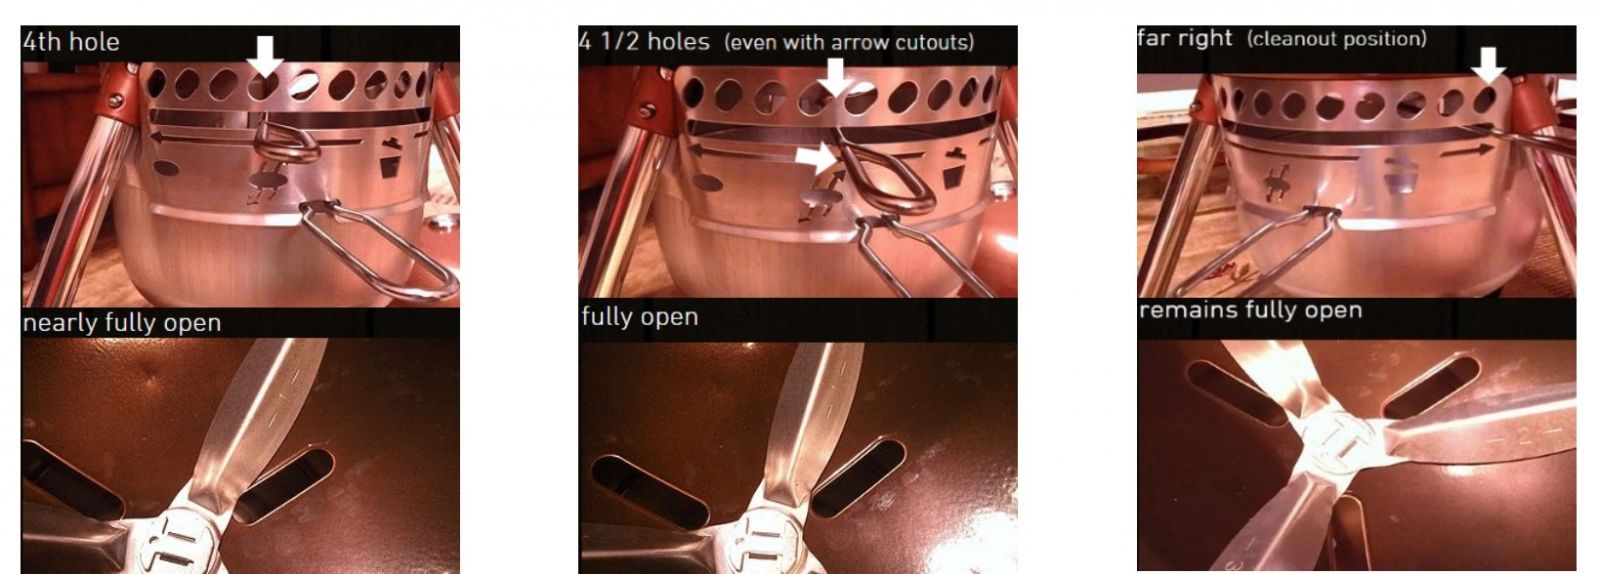
On older Weber One Touch kettle grills, some prior inspection may be required to determine the bottom vent positions relative to the sweep handle. This will be critical to understand as the cook progresses in order to maintain proper temperature control.

