How to cook Korean Fried Not Fried Chicken Wings on a Weber Kettle
Hi guys, Kieran here from Q ‘n Up BBQ and today I’m going to be making some Korean Chicken Wings. These wings will feel and taste just like the deep-fried versions but without guilt. Our first step here today is making the flavoured brine for the wings, which is a very easy, simple & effective way to impart flavour and moisture into the meat.
We’re going to be making a slurry, so what you need is about 4T of rice wine vinegar, 2T of salt, 1T of black pepper and 3T of ginger powder.
Next, we will trim back our wings, removing the wingtips. We also want to separate the drumette and the flapper. You don’t NEED to do this, a lot of people like to leave them whole including the wingtip, but that’s just not me personally!
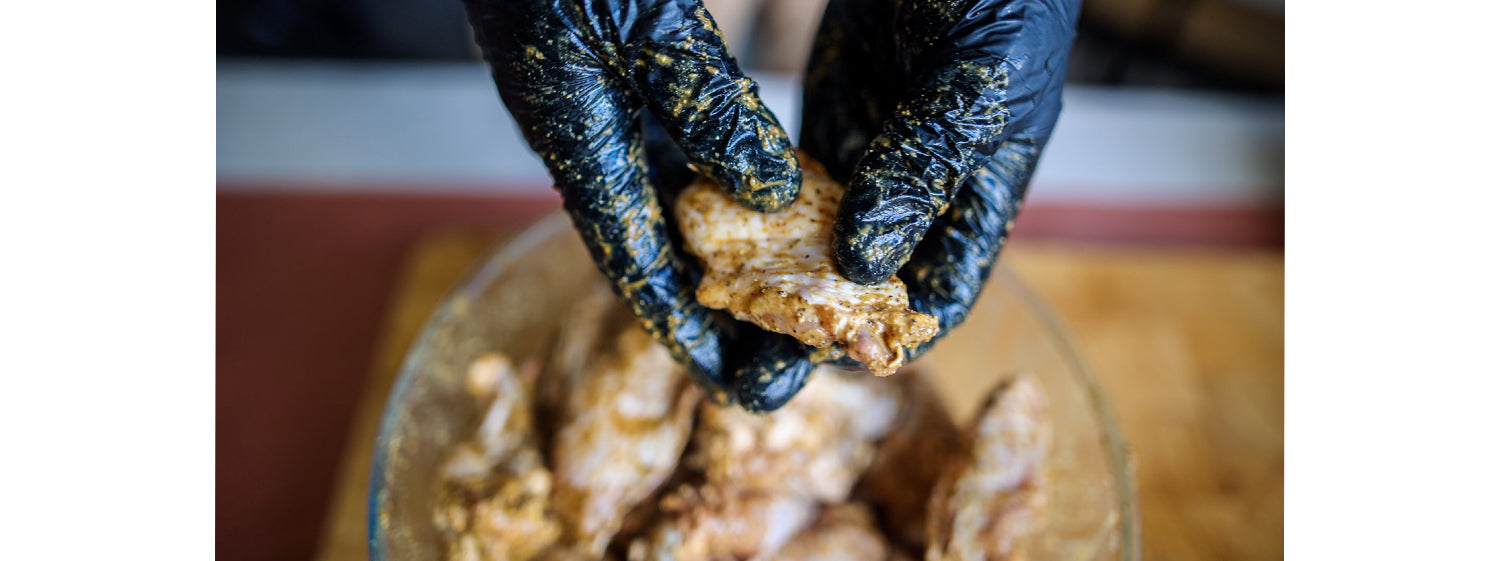
Add the wings to the bowl of slurry and give them a good mix to cover thoroughly. Wrap the bowl in cling wrap and refrigerate for up to 24 hours. I find 12 hours is ample time for the brine to do its work but try not to go past 24 hours as the acidity from the vinegar can often ruin the meat.
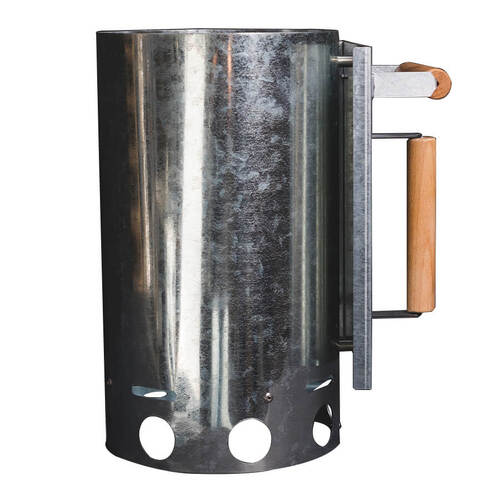
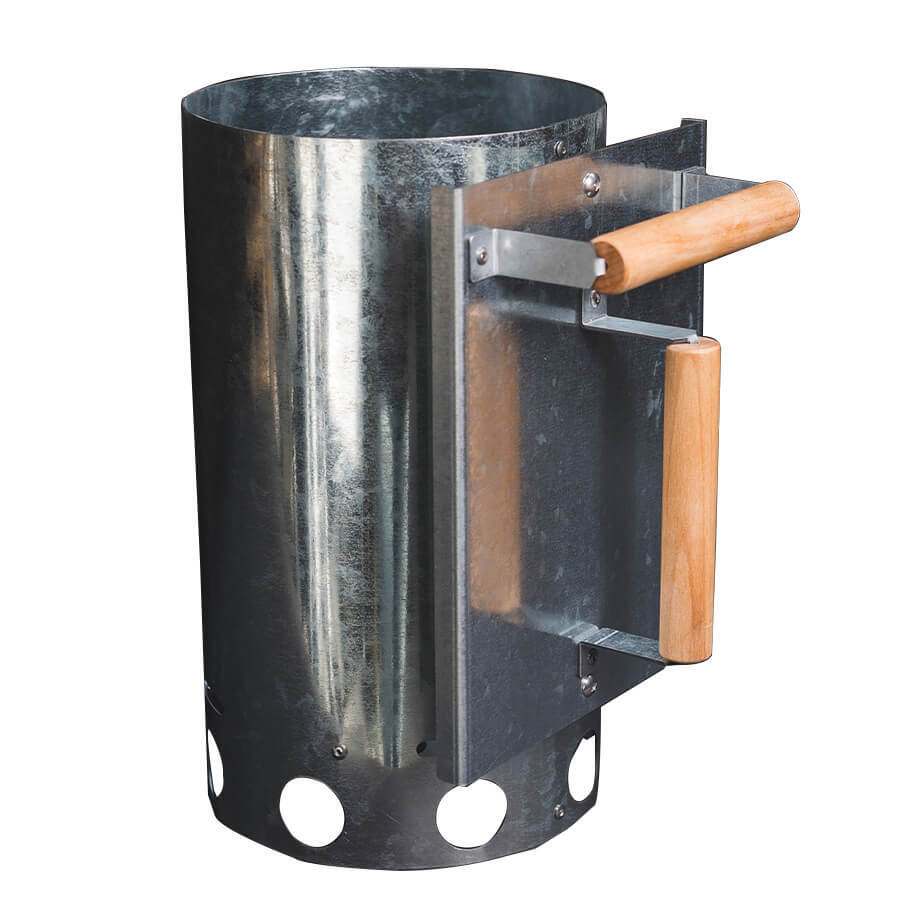
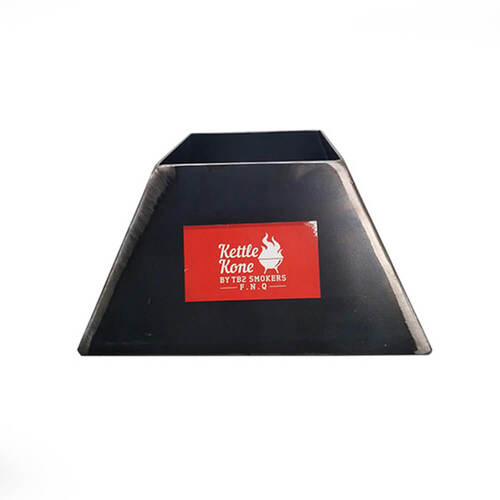
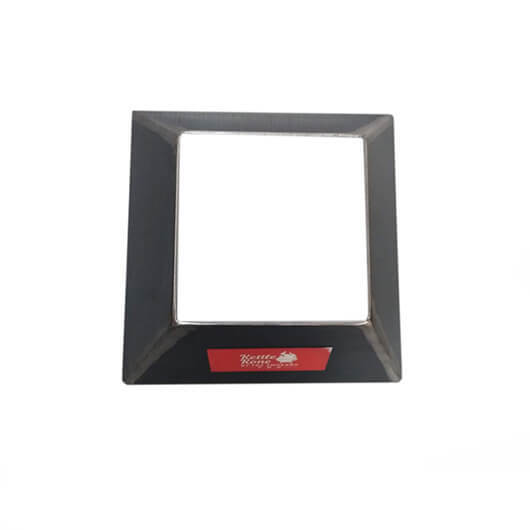
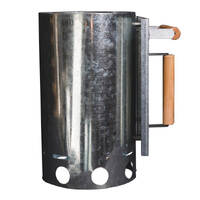
It’s day two now and ready to fire up our smoker. I’ll be using a Weber Kettle for these wings, with the addition of this handy accessory – the Kettle Kone.
Set the Kettle Kone with the smaller opening facing up in the bottom of the unit, in the charcoal basket. Light up some lump charcoal or briquettes in the chimney, then dump them inside the Kettle Kone once the fire from the chimney is roaring. You really need your fuel completely lit for this to work effectively, so make sure you use a long-lasting, hot fuel.
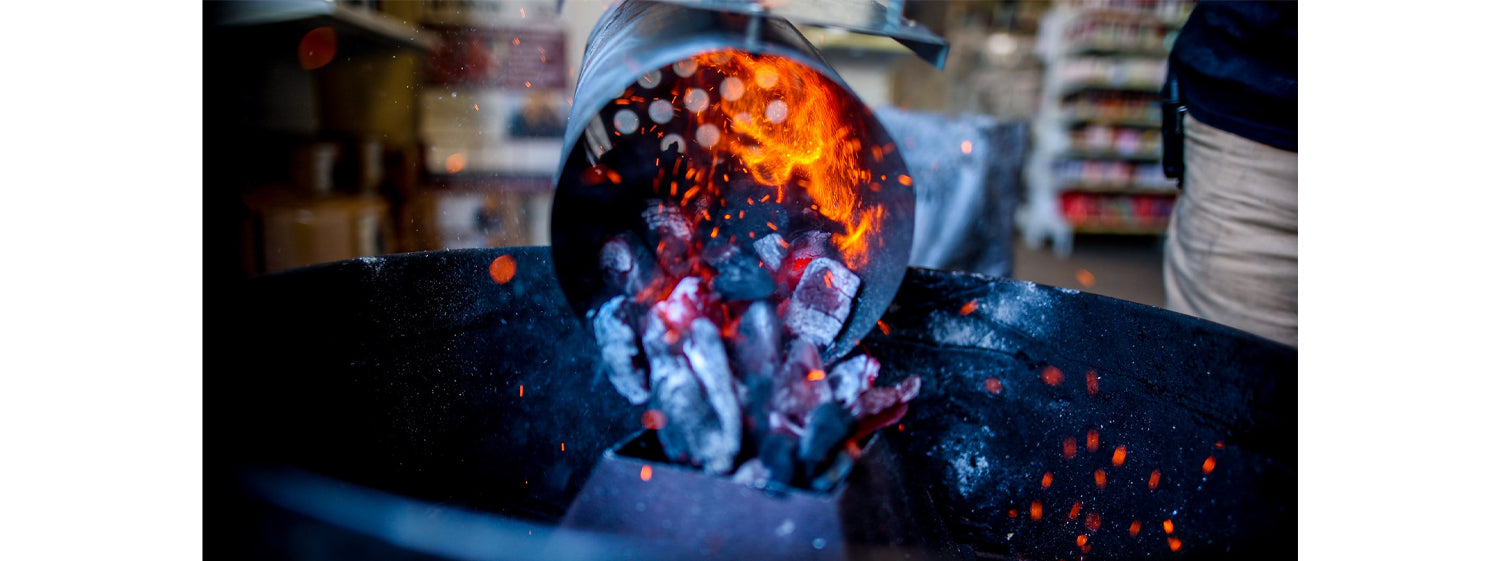
Place the lid on, with the top vents and all three bottom vents fully open. We want as much airflow running through this as possible.
Here we have the chicken wings that have been removed from the fridge, we want to pat them dry with a paper towel. No need to go overboard here, a bit of moisture is ok, as we’ll dust them in flour before cooking.

The next stage is dusting. Place about 500g of cornflour in a flat tray, plate or bowl. An optional thing to do here is to add 2T of flavouring into the mix. I don’t normally do this with this recipe, as the sauce has enough flavour on its own – but if you’re just making the wing component, then I suggest adding rub at this stage.
Start coating the wing pieces in the cornflour mixture, shaking off excess as you go. I like to spray the grill from the Kettle heavily in canola oil to stop anything from sticking.
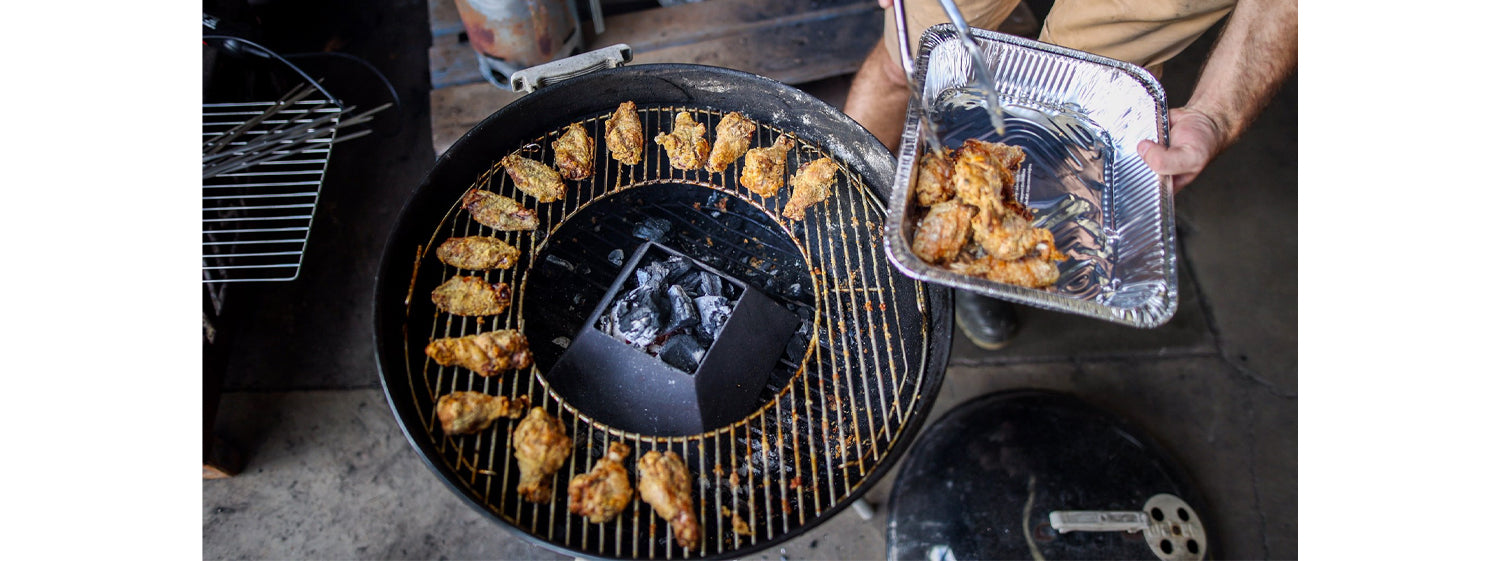
Arrange the chicken pieces around the outside edge of the grill leaving at least 5-10mm between each piece to allow for air & heat circulation. We want those wings crispy all the way around!
Before we place these in the smoker, we’ll douse them in canola oil on the top side. Place the grill with the wings directly over the heat source and replace the lid. These should take anywhere from 45 minutes to an hour, depending on how much airflow and constant heat is circulating. We’ll rotate the lid 90 degrees every 15 minutes.
While the wings are cooking, we’ll make the sauce. What I love about this sauce is it’s super easy to make and you’ll likely have everything you need at home already.
In a small saucepan, add 10T tomato sauce or ketchup, 4T honey, 4T brown sugar, 2T soy sauce, 4 tsp sesame oil, 1 tsp minced garlic & 3T Korean chilli paste (Gochujang). And yes, I apologise for my mispronunciation.
Now you probably don’t have Korean chilli paste but it is available in most supermarkets, otherwise, any good Asian grocery store will have it. I’ve also made it with normal chilli paste from a jar and had great results, so that’s an option too.
Mix up those ingredients in your saucepan and place over low heat until it starts to simmer and bubble. We just want to warm this up, not cook it!
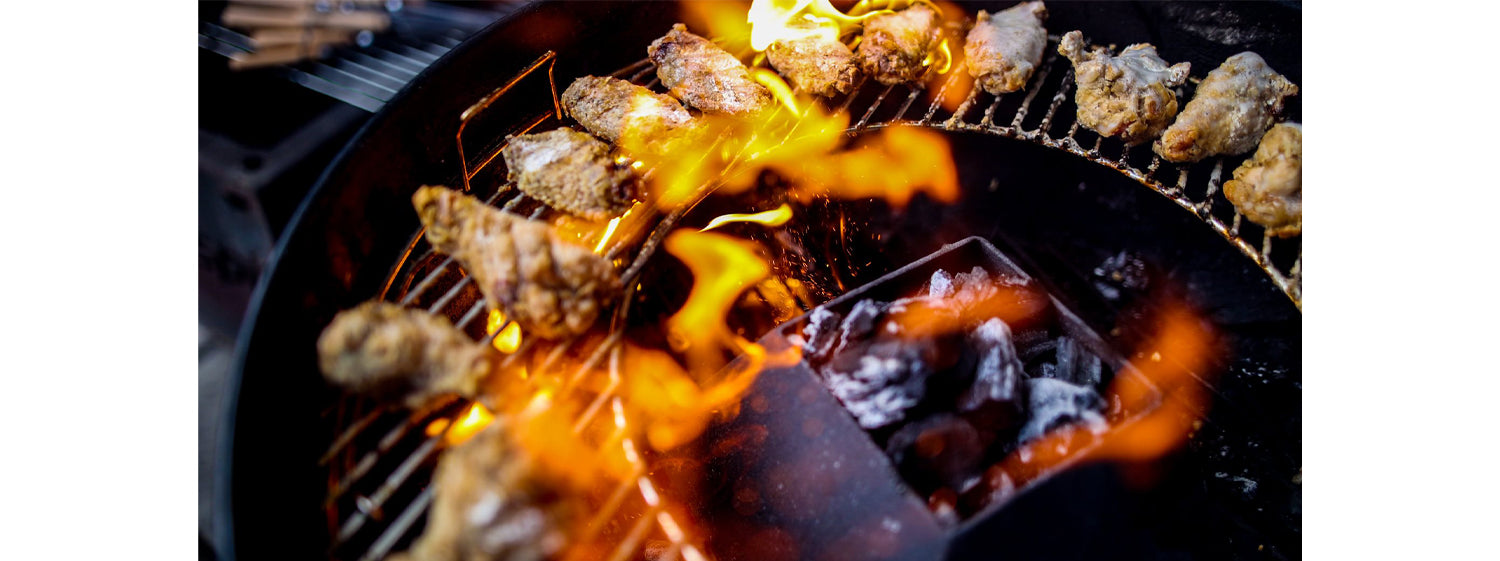
By now you should have rotated the lid once or twice, we’ll be halfway through now so it’s a good idea to check on the wings. I like to flip these about halfway so now is a good time to flip & respray with canola oil, but lightly.
While the wings are finishing up, I like to cook some rice to serve with it. They’re great on their own of course. I’ve also used this recipe for chicken thighs, cut into 2cm cubes & deep fried. Same brine approach, but only 6-12 hours. It’s another great option if you don’t have the time to BBQ!
We’ll just check again on the wings now, and you want your internal temperature to be at least 165F in the meatiest part (avoid checking near the bone). I find I get great results when they’re pushed a little longer to about 190F to 200F internally.
The wings are done now, super crispy and tender. Carefully remove the wing pieces from the grill and place them in a bowl. Place your saucepan of sauce back over the heat to warm up.
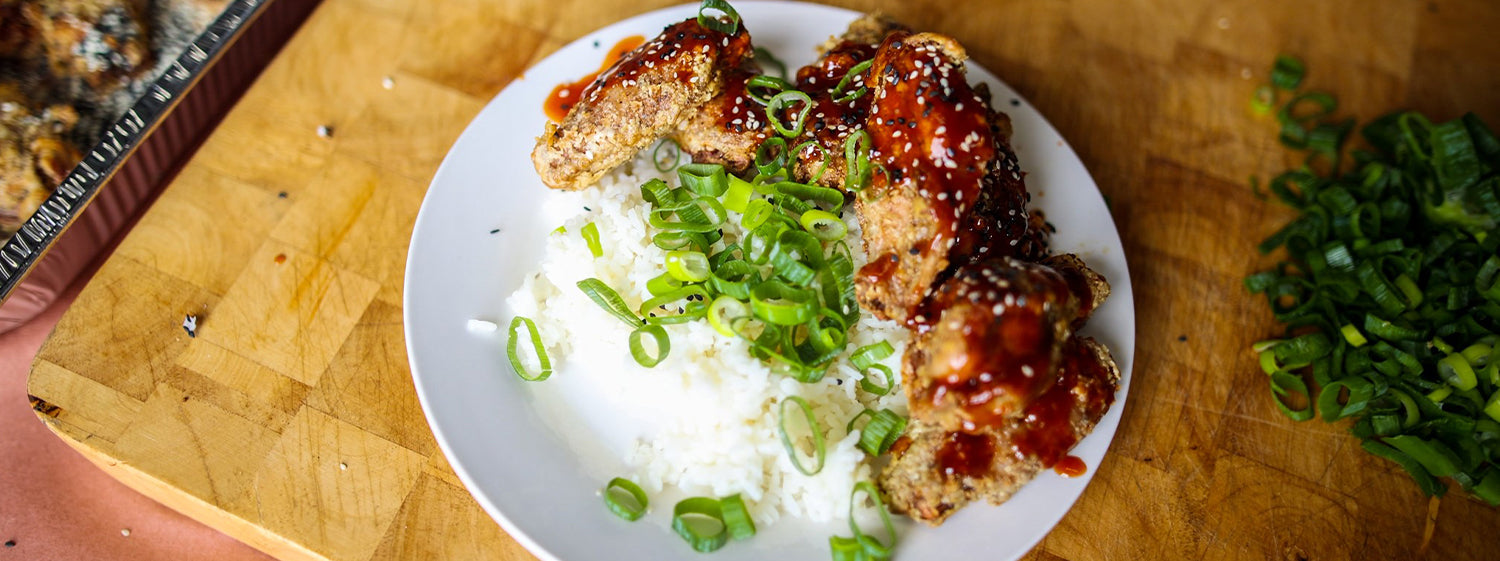
Serve up a plate of rice, arrange some chicken pieces over the top and coat generously in the Korean sauce. Add some shallots and a sprinkle of sesame seeds, devour.
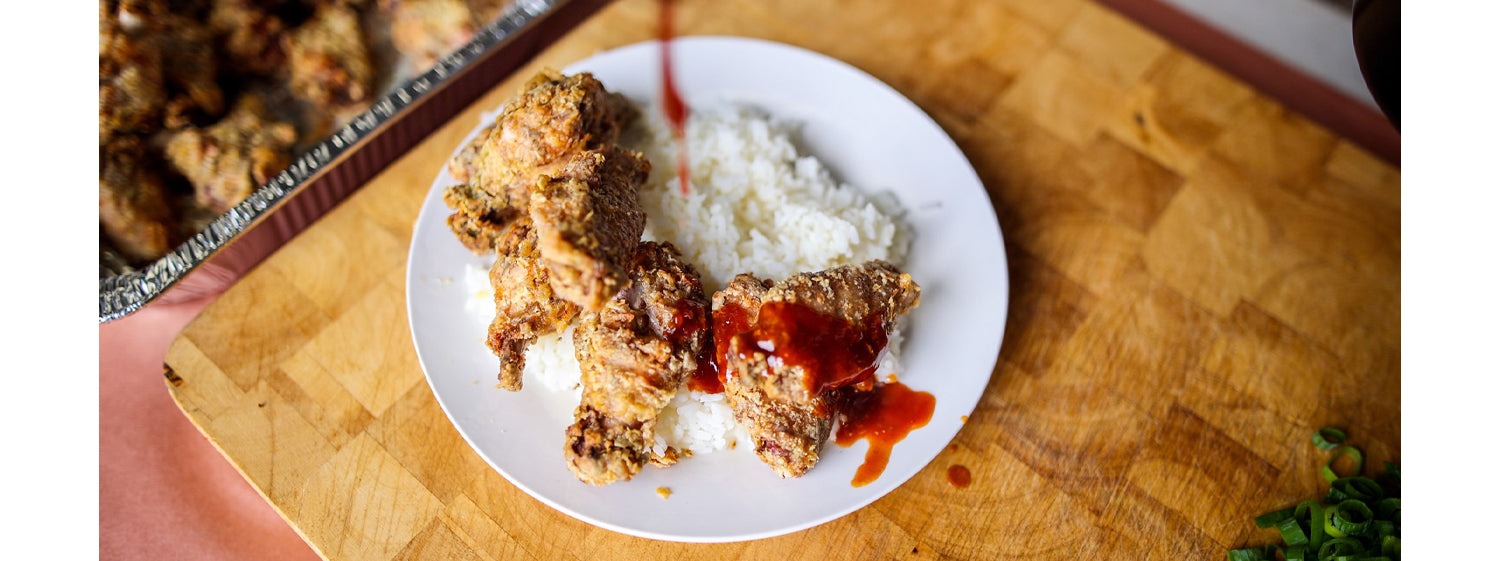
If you’re not wearing this food, you’re eating wrong! Enjoy.
Check Our Kettle Grills and Accessories

.jpg)
by: Kieran