
Recipe for Beef Tenderloin
Introduction
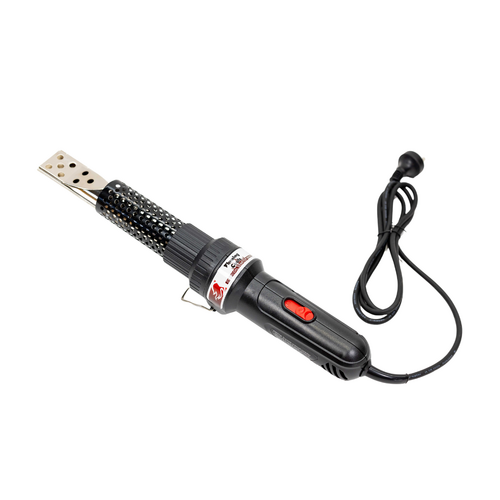
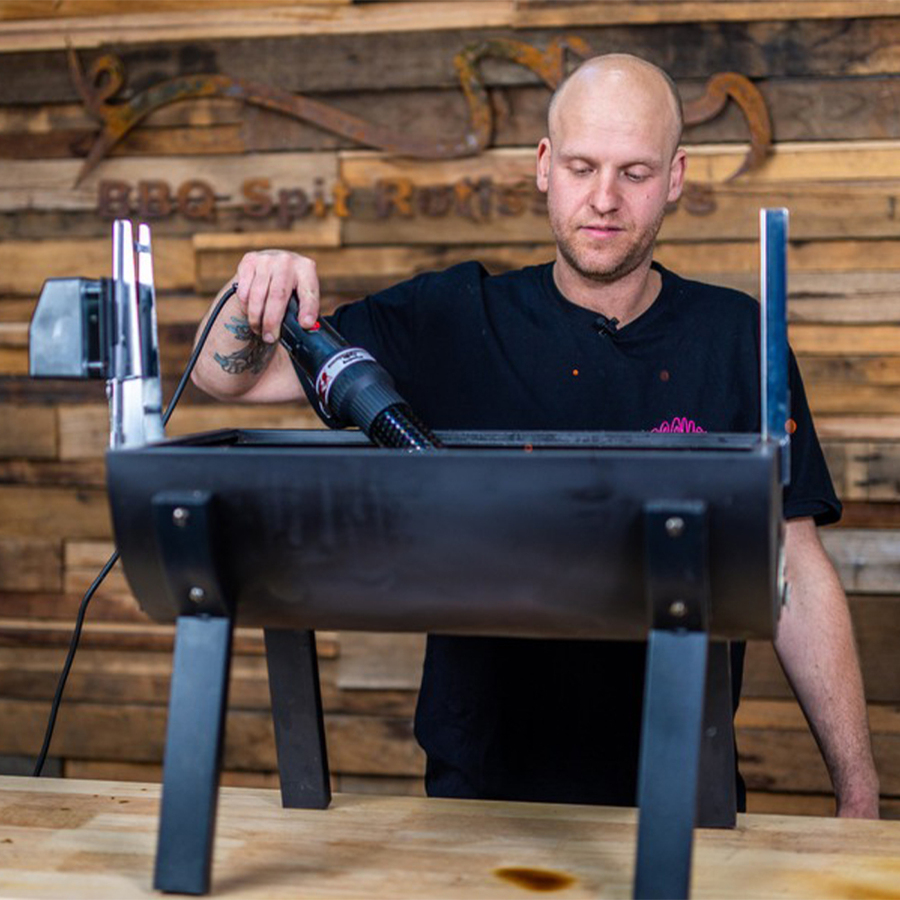
Tenderloin is the most expensive cut of beef, but it also has the most tender, succulent meat. If the thought of a perfectly cooked filet makes your mouth water, imagine the praise and awe that comes with cooking a whole tenderloin! Rus Jones from Smoky Ribs prepares this beef tenderloin recipe on our Kamado Grill and then shows how to use the SnS Grills Scraper.

Prep
Whole beef tenderloin can be purchased either trimmed or untrimmed. Purchasing an untrimmed beef tenderloin will save you money, but you will have to remove the fat, connective tissue, and silver skin that covers the beef tenderloin, which is a simple procedure that can be completed with a very sharp boning or filet knife. Pay close attention to each cut when removing the fat and silver skin to avoid gouging into the actual meat.
Once the entire beef tenderloin has been trimmed and free of excess fat and silver skin, it is time to break the beef tenderloin down to expose the centre cut section of the beef tenderloin. Filet Mignon steaks are cut from this centre cut. It is the most tender and also the most expensive cut of the steer.
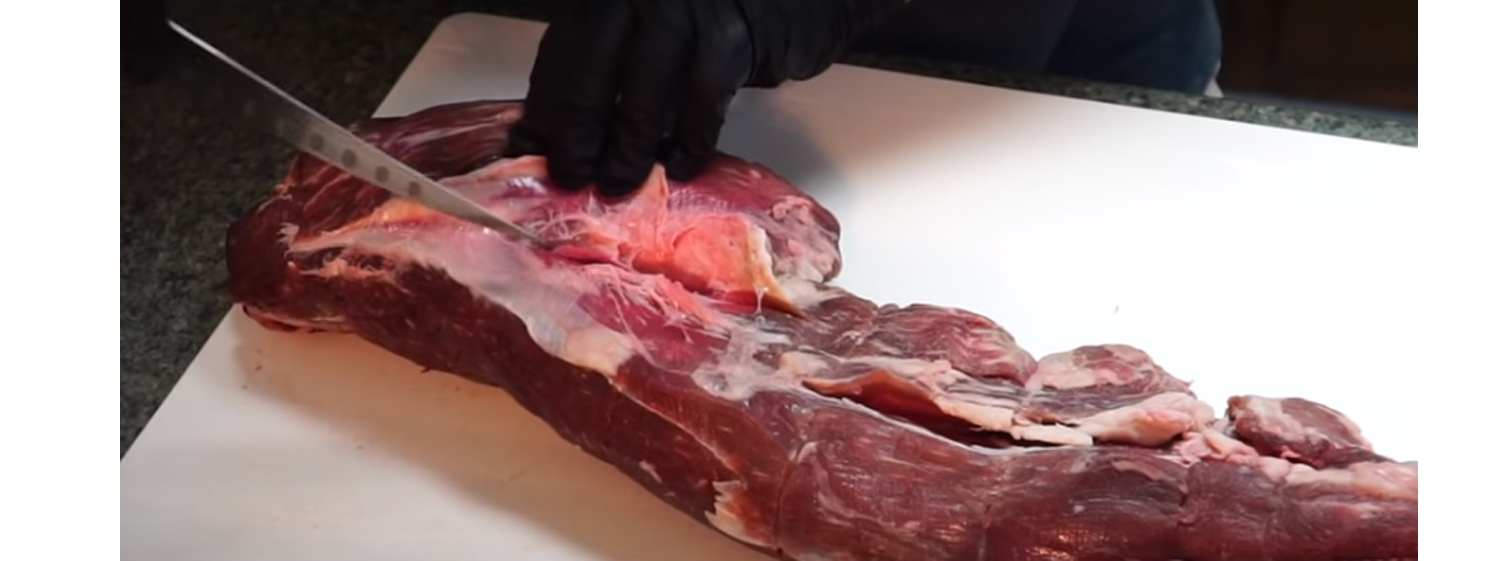
Now that the silver skin and fat have been removed, you can clearly see what is known as the chain. It is attached to the side of the tenderloin and runs its entire length, with connective tissue and silver skin barely connecting it. The head of the beef tenderloin can be found on one end. It's a fat end that's semi-connected by more connective tissue and silver skin, and the opposite end from the head is called the tail because it tapers down to a much smaller diameter.
Here are some general guidelines:
Begin by separating the head at the point where the connective tissue and silver skin naturally separate. You want to get rid of the chain now. Many times, you can simply pull the chain away, but a sharp knife can easily handle this task as well. Finally, cut away the tail where it begins to taper down, as well as the tapered end where the head was removed. All of the meat removed from the centre section of the beef tenderloin is excellent and can be used in a variety of other dishes, as well as ground and topped with extra beef fat for fantastic burgers.
Season
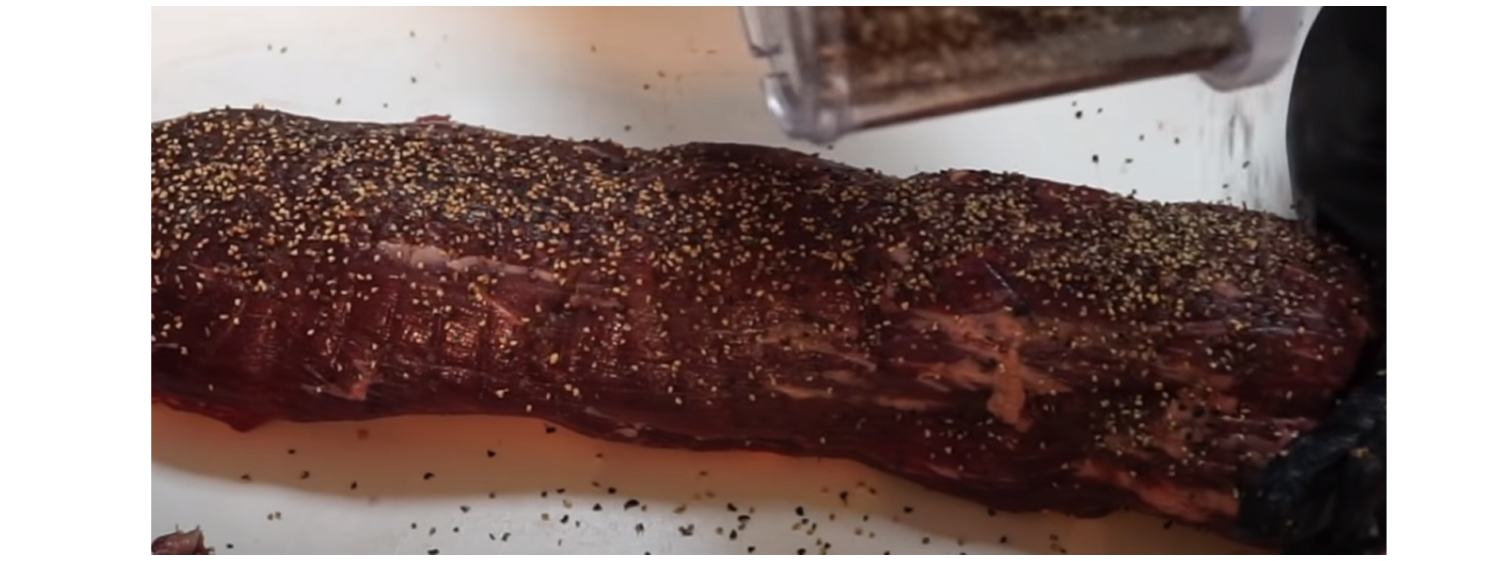
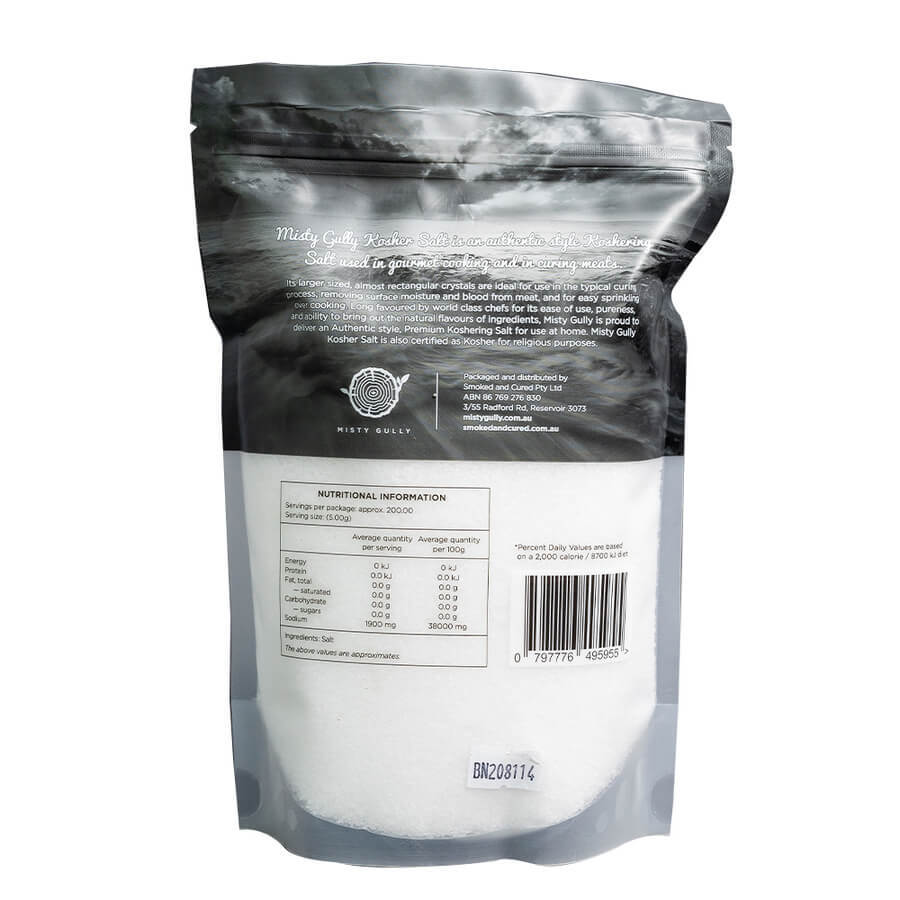
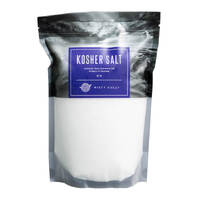
You'll need to season the roast now that you've successfully broken down the tenderloin and removed the centre cut section. I strongly recommend the dry brine method, which calls for 1/2 teaspoon kosher salt per pound or 1/4 teaspoon plain table salt per pound. Salt the roast evenly on all sides with the appropriate amount of salt. Place on a wire rack in the refrigerator overnight (uncovered). This will season the roast deeply into the meat, providing just the right amount of seasoning in each bite. When you take the roast out of the refrigerator the next day, you can season it with whatever seasoning you want, but remember to use a “no salt” seasoning because you have already added salt through the salt brine. I used black pepper and salt brine, but you can substitute other herbs to suit your taste.
Note: I dry brined the entire beef tenderloin before breaking it down in the video because I had immediate plans to use the seasoned meat for another purpose, but typically you would dry brine only the centre cut roast in preparation for cooking.
Cook
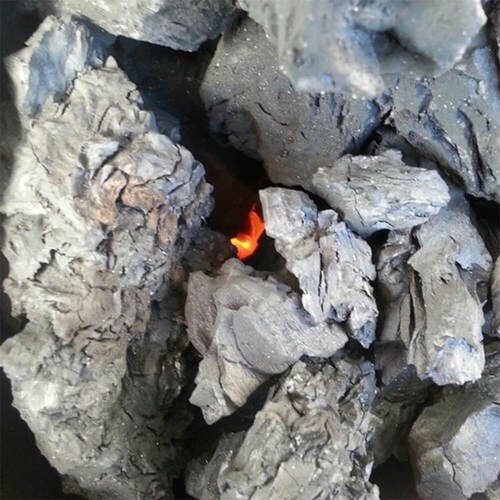
You should reverse sear the beef tenderloin roast for best results. Fill the Slow 'N Sear's water reservoir with your preferred type of charcoal. To get the charcoal going, place a fire starter or two in the far corner of the Slow 'N Sear. After about 10 minutes, or once you know the charcoal is lit, close the Kamado lid and set the temperature to 225°F and no higher than 250°F. To achieve this temperature, adjust the bottom and upper vents. Place the beef tenderloin on the indirect side of the SnS Kamado, away from the heat, once it has reached 225°F. This indirect cooking will gradually raise the core temperature of the roast. Remove from the Kamado and tent with foil until your internal core temperature reaches 115°F to no more than 118°F. Allow to rest while you bring the Slow 'N Sear up to a searing heat from one end to the other. This can be accomplished by adding more already lit charcoal from a charcoal chimney, or by using a few more fire starters on the opposite end, as I did in the video, and it took less than 10 minutes to have the entire Slow 'N Sear ready for a hot sear.
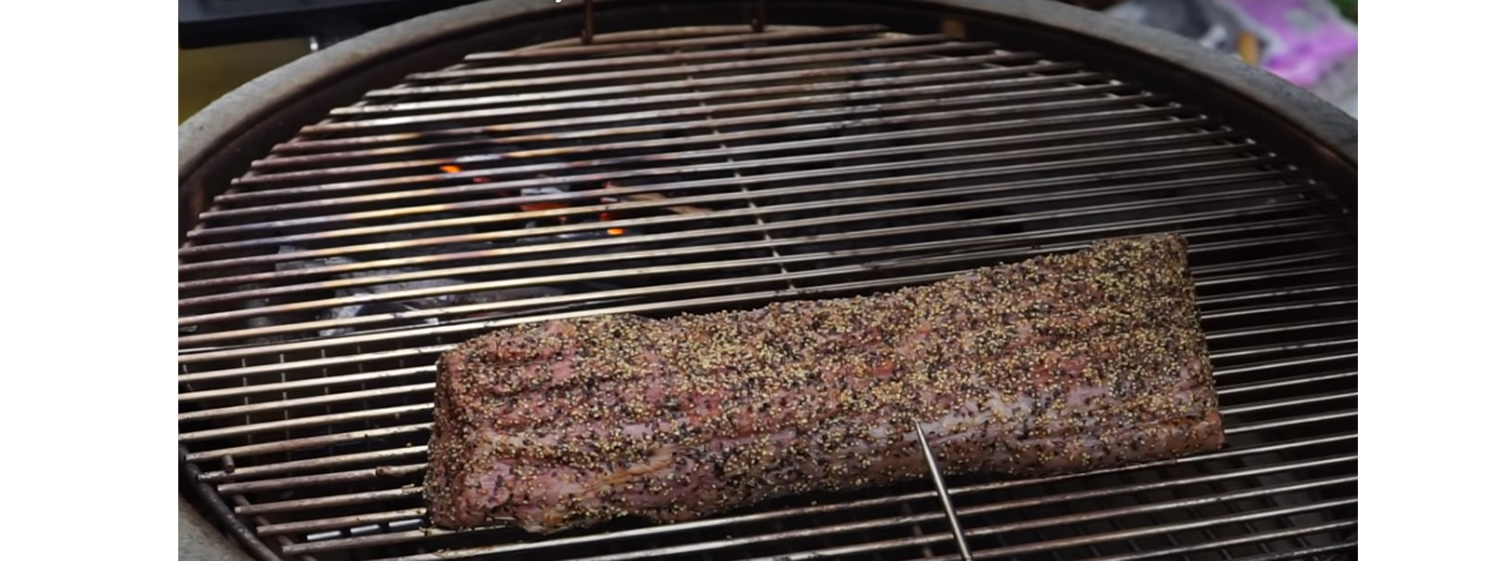
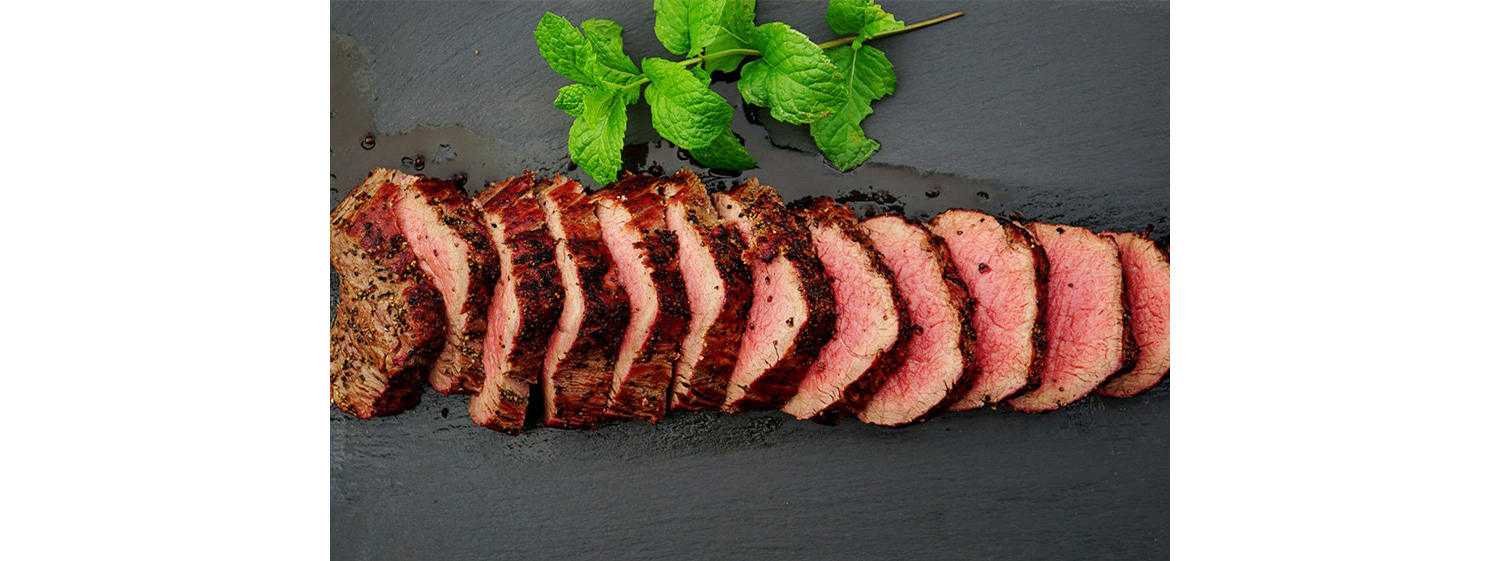
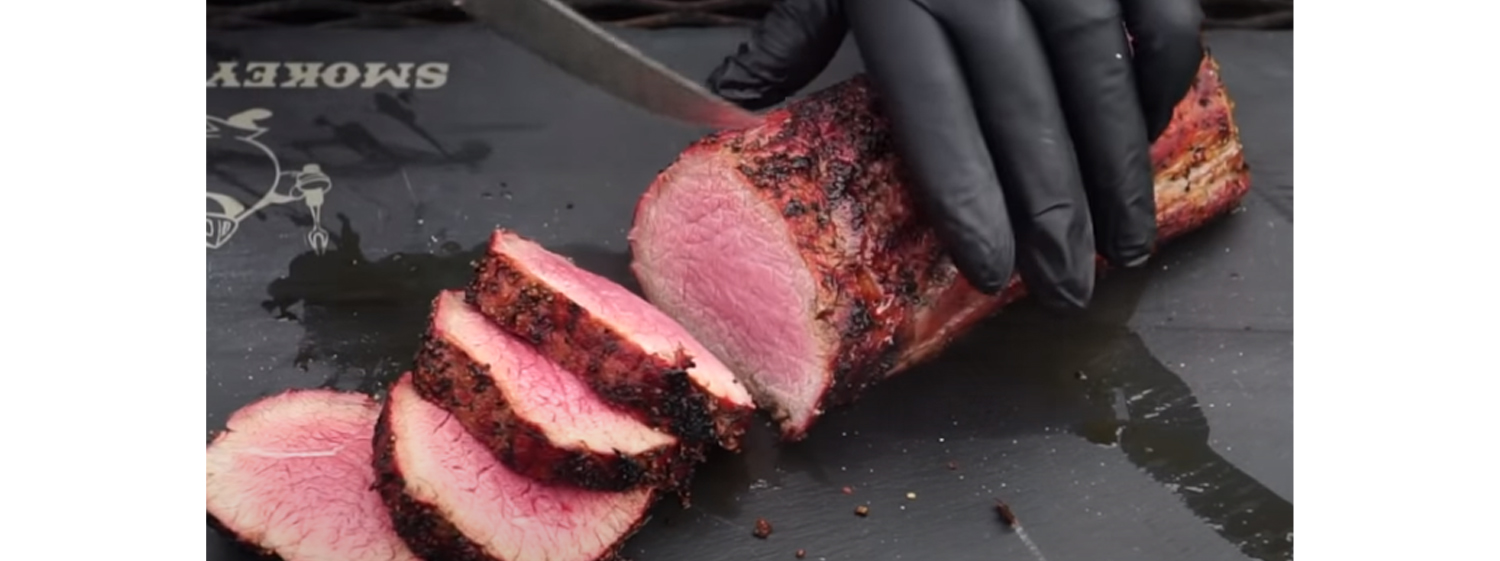
Place the rested beef tenderloin on the grate directly over the hot coals, flipping and turning as needed to prevent burning. Check the internal temperature of the roast while searing it until it reaches 128°F to 129°F. Remove the roast from the Kamado and set it on a wire rack to rest for 5 minutes or so. Carryover heat will raise the core temperature a few degrees over the next 5 minutes, resulting in a perfect medium-rare. My finished temperature was 131°F. Slice to the desired thickness, beginning at one end.
Enjoy!
Check Our Kettle Grills and Accessories