


9 Steps For The Perfect Pork Crackle

How To Get The Perfect Pork Crackle Every Time

It’s no surprise that everyone wants some good crackle when they eat pork so I’m here to let you in on a few hints and tips to achieve this. The secret to achieving the pork crackle is dry skin, salt, and high heat. Also give yourself at least 24hrs for the best results.
- Use a rolled shoulder/neck or belly with all the skin still in tack. I find using these mentioned cuts yield the best results.
- Score the skin at about 1cm intervals. You want to cut only as deep as the skin and a little of the underlying fat is ok. Do not score into the meat as this will lead to moisture escaping and the meat drying out. Use a really sharp knife or my favourite is a box cutter/ Stanley knife that you can lock in the length of the blade so you don't go too deep.
- Boil the kettle, Yep that’s right but not to make a cup of tea. Pouring boiling water over the skin makes it shrink, become soft, and opens up the rind so you have greater penetration of the salt and oil. Only pour the water on the skin side and try to avoid it touching the meat side.
- Pat the skin dry then sit it on a rack in a baking tray. Wipe the outside of the skin with a wet vinegar cloth. This assists in drying out the skin and can also help minimize any pork odour.
- The first salting. With so many salts on the market (believe me I have tried a good majority) in my opinion Kosher salt is the best option out there followed by Malden salt. Apply this evenly to the skin only. DO NOT USE ANY OIL at this stage. Now place the tray uncovered in the fridge for at least 24hours. Placing the pork at an angle allows the moisture to drain off.
- The Second Salting. The next day (24hrs later) Take the pork out of the fridge, wipe down all excess moisture and reapply a light even layer of salt. Pop it back on the rack (on an angle again) and back in the fridge. If you are in a rush, you can skip this second salting and go straight to the cooking.
- The next day, take the pork out of the fridge, pat it dry and season the meat section of the pork with your favourite Pork Rub alternatively a light salt and a bit of pepper is all your really need. Apply another layer of salt to the skin and let's get this party started!
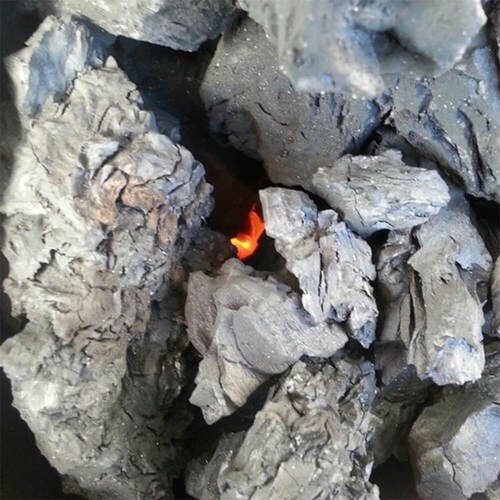
- So now comes the time to get the crackling well…crackled. The main thing to remember is HIGH HEAT from the start, whether over natural lump charcoal, wood or gas (but seriously why gas??). As the crackling starts to form pat it dry so no moisture stays on the skin. My preference is to do this on a small spit roaster, it makes it quick and easy to adjust heat via the height of the spit from the charcoal. If you are cooking in the oven, make sure you put the pork in only when the oven it is above 220°c and cook it for at least 30 minutes, after that, you can turn the temperature down to 180°c
- When the pork had reached an internal temperature of 75°c it is safe to take off however you can leave it in for a little longer to let a bit more fat render out. An instant-read meat thermometer is a must if you want to achieve consistent results when cooking meat, When you remove it from the spit or oven, let it rest for 15 minutes uncovered before you cut the meat and serve. CRUNCH CRUNCH CRUNCH!!! Enjoy!

Need I say more?
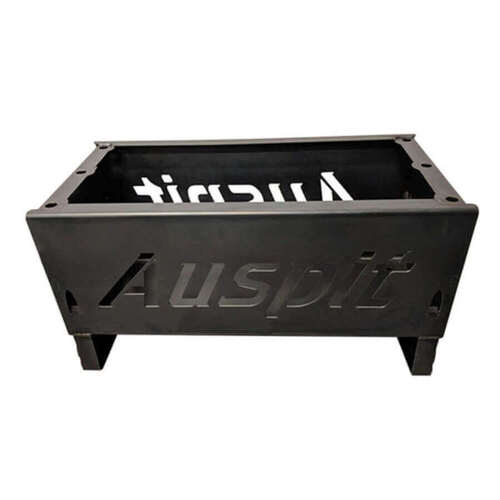
The above pork was cooked on an Auspit Portable Rotisserie in the Auspit Firepit. Check our complete Range of Camping Spit

.png) By: Cameron Davidson
By: Cameron Davidson